
Since taking down all my Christmas decorations, my front door has been a stark, sad site. I knew I wanted to buy/make something winter-y to put up there, but I just couldn't figure out what to do. Many ideas I found and liked seemed a bit Christmas-y (you really can't get away with decorating with anything evergreen out of season), and the others seemed to involve hanging a pair of ice skates from a wreath. Don't get me wrong, that's certainly winter-y, but it's also slightly expensive (do all these people just have vintage pairs of skates lying around? Because a pair from eBay seems to run anywhere from $15 to $30, plus shipping). Yeesh. Also, ice skates seemed a bit clunky to store in the off-season (and space is premium at my little semi-studio).
 |
| Pinterest gem! |
I ended up estimating the amount of twine I would need, then cutting it from the spool (in order to loop it around the ring). To keep it from tangling, I wrapped it around a clothespin, using it like a needle, if that makes sense. Originally, I had made some paper blossoms out of book pages to adorn my sunburst (following the directions from this site), but I felt that the look was a little cluttered once the twine-wrapped ring was completed. The pics below show what I mean (sorry for the bad quality - night-crafting strikes again!). The left photo was more of a concept shot, before adding the ring and another round of twigs.
 |
| The roses are so cute... |
 |
| ... but I just felt that they hindered the clean lines of the finished sunburst. |
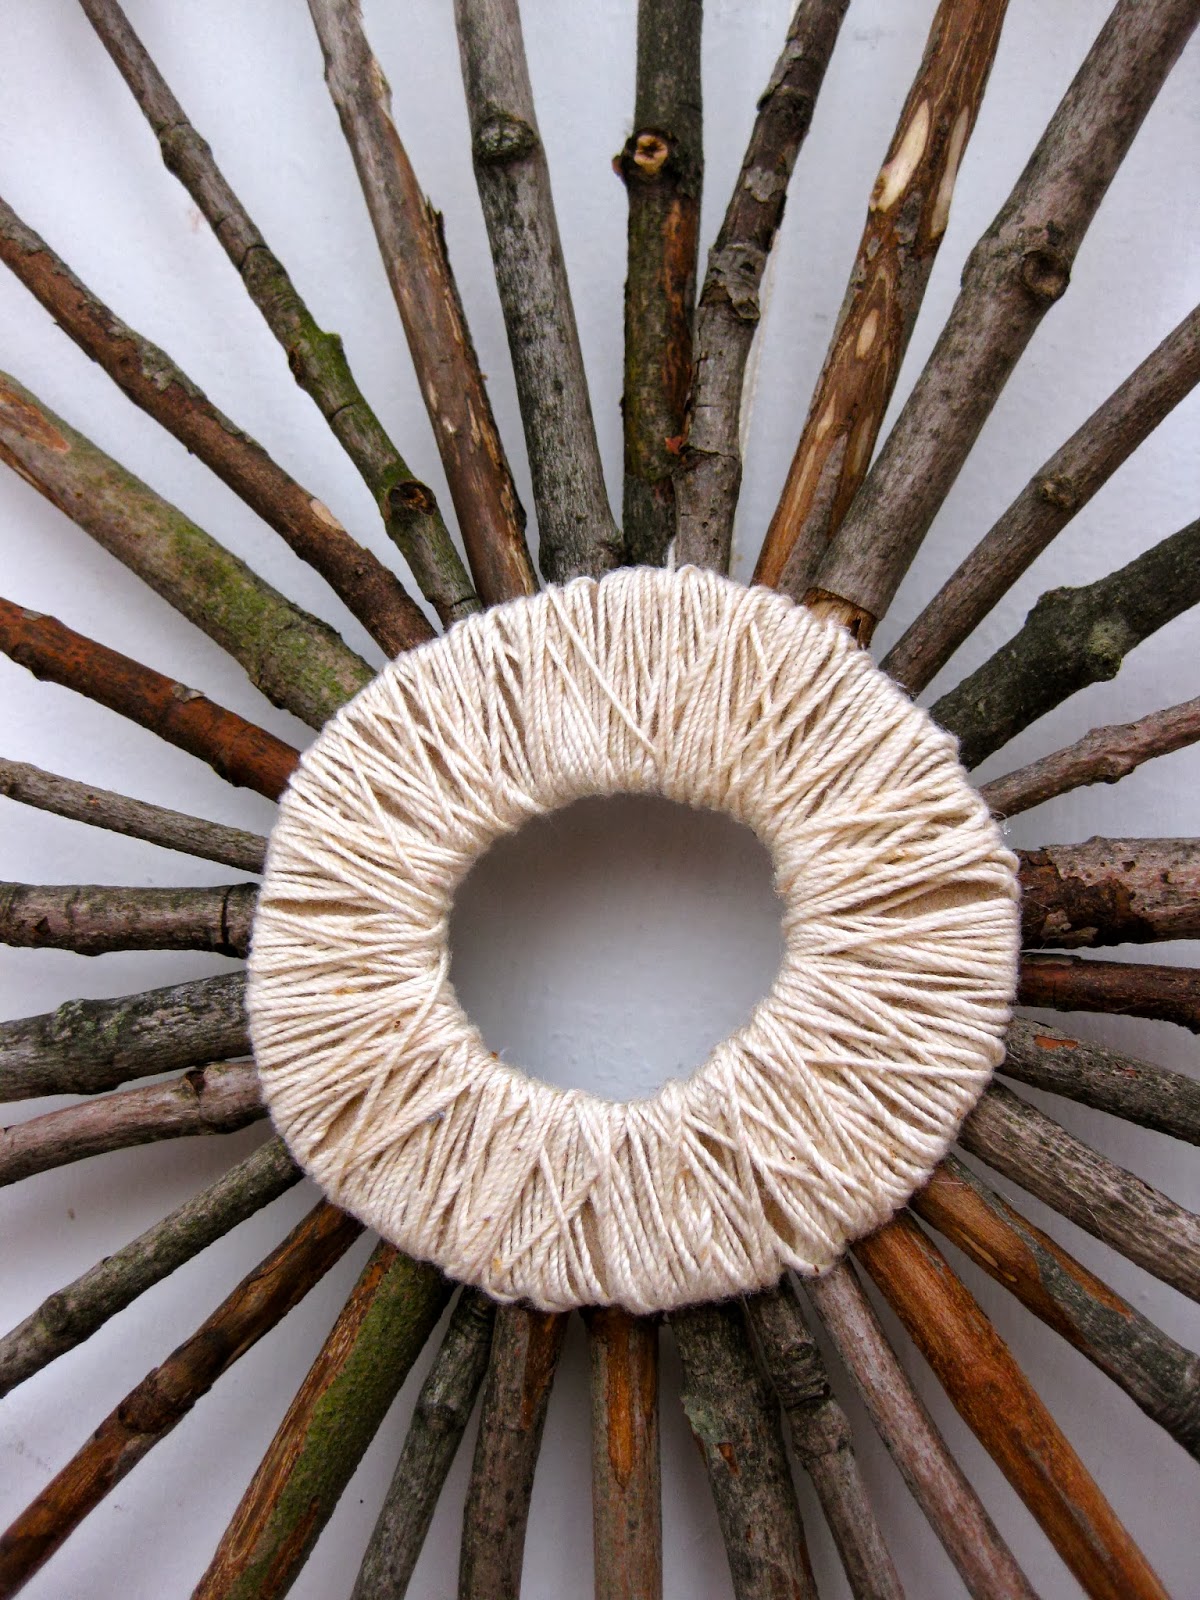
The construction was simple, once my ring was prepped - I simply hot-glued the twigs in sets (four, then eight more, then sixteen) to ensure even spacing and balance in the finished product. I love the random, messy look of the example one, but I seriously doubt I could achieve the same. And, let's face it, I'm meticulous. :P I contemplated leaving the ring in the back like the original picture showed, but I liked the look of the wrapped ring. Good thing, too, since the hot glue looked a hot mess when I was done! I kind of took liberties knowing it would be hidden - and maybe it shows. But nobody will see! Except people reading this...


A quick note on hot glue - if you have a door that gets direct sunlight and tends to cook your door hangings, the glue is probably going to melt. My door barely gets sun (and most winter days in OH seem to be overcast), so I'm not too worried. All in all, once the twigs were gathered, it was an easy evening project, and I love how it turned out! Wintery, natural, and still mod-chic - sunbursts are so popular at the moment! Happy Winter, everyone (we have ANOTHER snow day today... bye, bye Spring Break)!
