Once I had downloaded and printed my photos, I decided on two display projects, inspired by the following Pinterest pics:
 |
 |
And here is where I launch into a tribute to my father's skills - knowing I wanted to recreate the framed photo-strings idea above, he took some leftover molding and made me a frame one Saturday afternoon. How awesome is that? Once the frame was complete, we laid out the photos to gauge where to string the twine - they fit perfectly!

After marking out points on the back of each side of the frame, we used a staple gun to attach one continuous string of twine, threading it back and forth across the frame.
 |
| We marked line points with a Sharpie |
 |
| Threading the twine |
 |
| Why yes, that's a reinforced corner (my dad rocks) |


Photo Display #2: Photo Carousel
My second photo display project was inspired by a series of carousel pictures I found in the LOC's photo archives. I edited them to make them black and white and cropped out as much of the measuring equipment in the pictures as I could (they were documentation photos, so there were measuring devices in each photo). Once I had fixed them up, I printed them on cardstock and cut them out, rounding their corners (if I haven't gushed about corner rounder punches before, allow me to do so now: THEY ROCK).


 Remember the embroidery hoops I purchased for my paper airplanes game? I used the inner hoops for this project (money-saving!). My first line of business was to glue some decorative ribbon that I found at Hobby Lobby to the outer rim of the hoops and allow them to dry. Clothespins worked really well to hold the glued ribbon in place as well as elevate the hoops for drying.
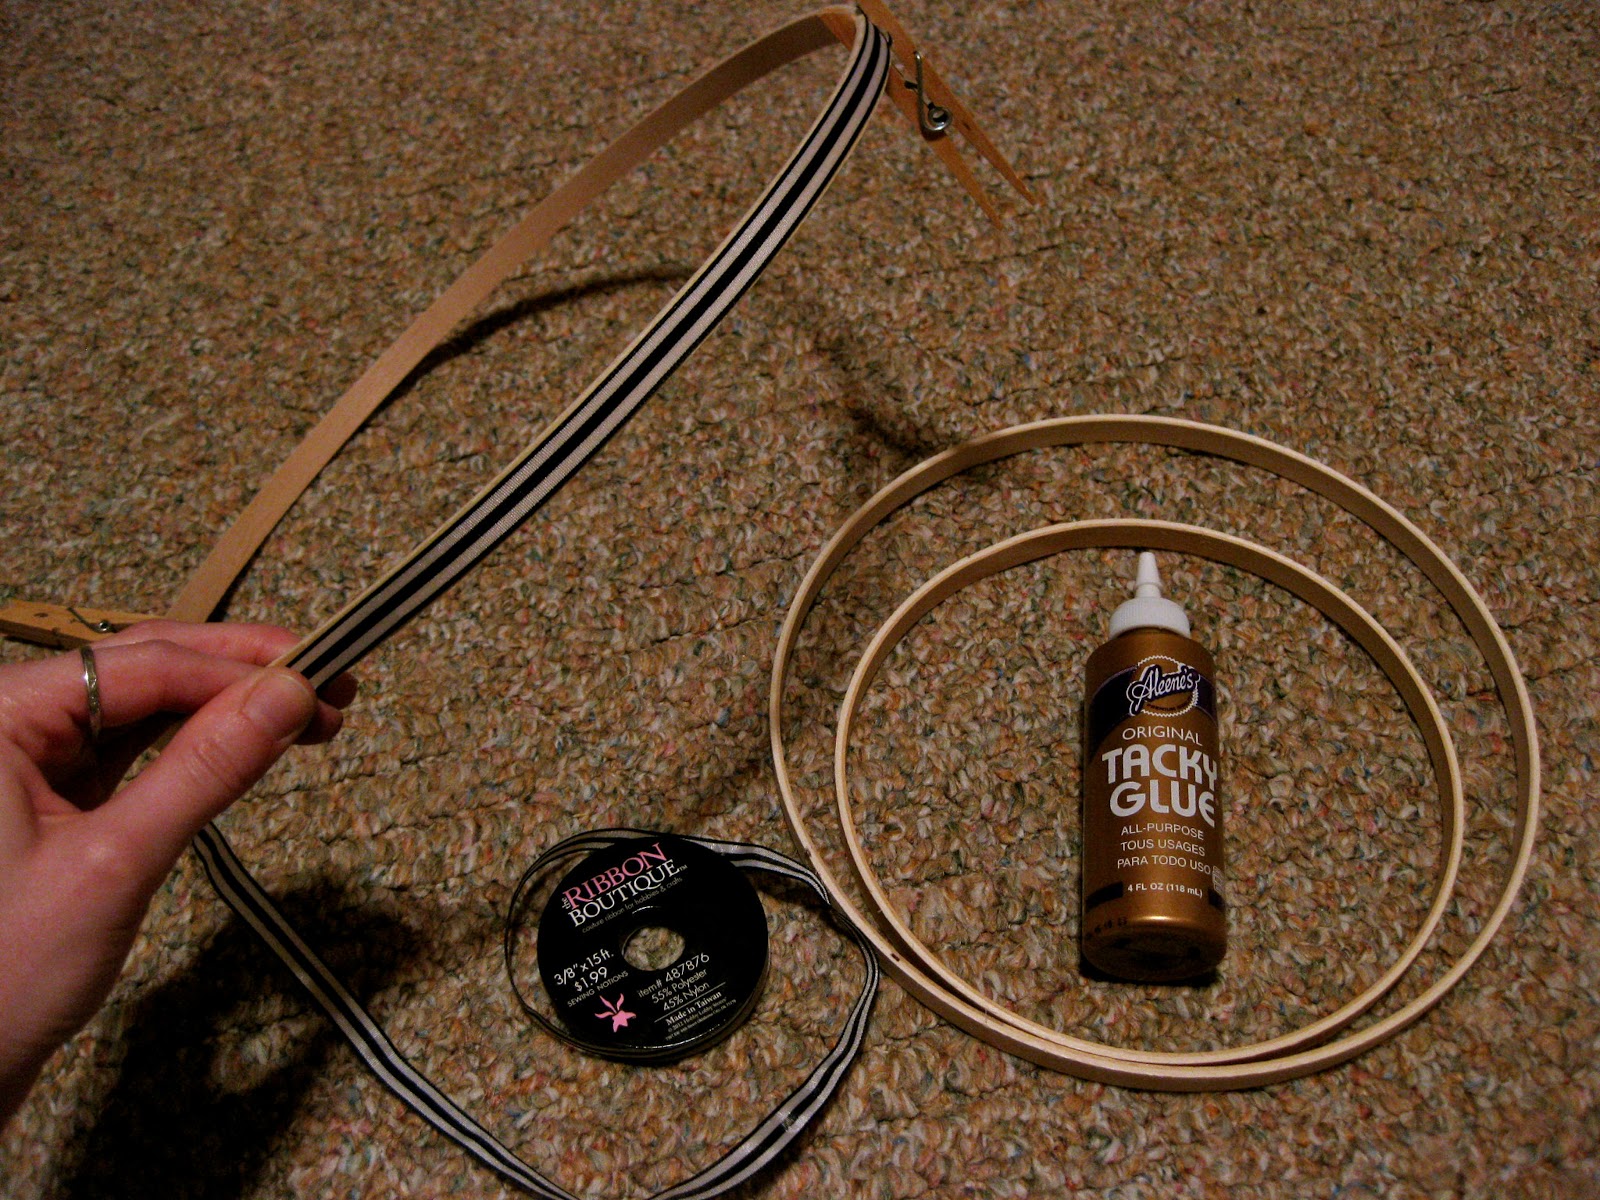

 Once the ribbon edging dried, we hot-glued mini-clothespins (from the same package as the ones used for the string photo frame project) around the edges to hold the carousel pictures. We had already measured out where we wanted the mini-clothespins to go, using the carousel pics as a placement guide. To help with the color scheme, I used a Sharpie to color their fronts black beforehand - it took less than a minute and complemented the ribbon nicely. Once the mini-clothespins were attached, we used twine to attach all three hoops - once we tied four strands to the top (biggest) hoop, we hung it from the pull chain of a ceiling fan in order to better hang the subsequent hoops. We followed the line created by the initial four strands so that each layer hung straight. While it was made to hang from a center pole staked into the ground, it just as easily converted to an indoor mobile, which I ended up hanging on a reading light. Check it out!
