
Don't get too excited - they're from Family Dollar. Or Dollar General. I had all these grand plans of making a window cornice, even finding this great tutorial... but, I hit a decorating wall (coupled with an onslaught of schoolwork - lesson-planning, grading, reading ahead, oh my!). So I wimped out and purchased a few light-colored curtains from the dollar store. Not the best quality, but they look pretty good up there, and they offer a nice neutral framing for the windows (as well as hiding the glaring holes left behind by the removal of whatever hardware had been there in the past). Because the windows are adjacent to each other, I opted for one long rod to thread both curtains on. Initially, it bowed in the middle (doh!), but I quickly solved that with a well-placed screw hook. It blends right in when the curtains are pulled together. WIN. Also, the top picture below shows more of the true color of the curtains - they are a light cream color (not yellow).


 Another place that received a curtain upgrade was the wire shelving unit that I use as pantry/storage overflow (you might remember it from my original new apartment post). I purchased a window panel from the dollar store (high class around here, folks) and trimmed it down to size, using the hot-glue hemming method. I wanted the shelf to blend into the wall more, so I picked a neutral shade. To attach, I just split the hang-loops and tied them off on the top wire shelf. However, there was still a glaring problem:
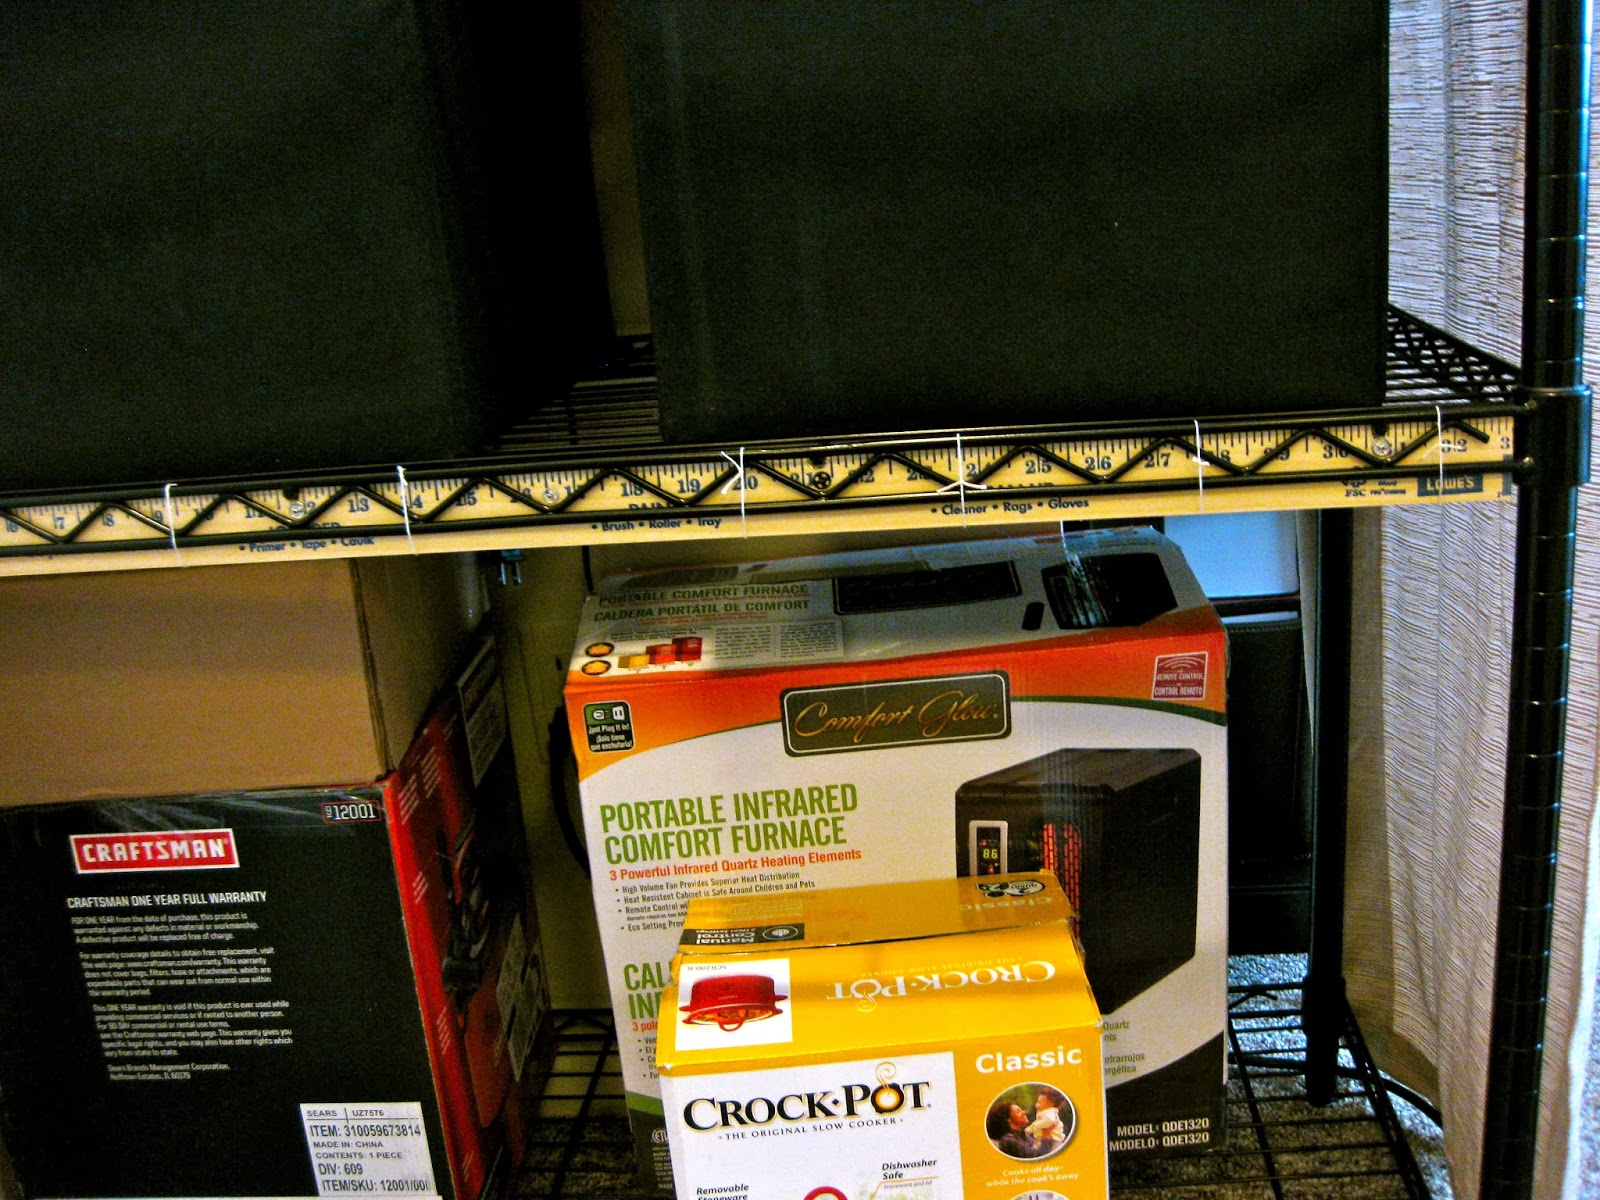
Yeah, everything was just hanging out on the bottom rack (mostly empty boxes for storing items). Luckily, I had leftover fabric from the side curtain, but it wasn't enough for a single-paneled curtain of that size. So, I decided to make three smaller ones instead! Since I wanted a smoother look at the bottom, tying them off wasn't an option. So I devised a plan involving snaps, a yardstick, and felt.
 |
| Add caption |
 |
| Add caption |
Then after some more measuring and cutting, gluing and the tiniest bit of sewing, I snapped my panels into place! Dontcha love how I gloss over the tedious parts? ;)
 |
| Snapping it on! |
 |
| Two on, one to go! |
 |
| Finished effect - looks more like pleats than separate curtains. Also, they need ironing, I'm aware. |
And, here you have it! The finished product! Much nicer, don't ya think?
