
 Here's the backstory: Back
in February my mom gave me a little Valentine's Day gift that mixed
together some of my favorite things - owls and candy! She was also proud
of her bow-making abilities (check out that awesome and
complicated-looking bow in the upper left-hand corner!). I liked the
whole concept of the treat bag so much that I didn't even eat the
M&Ms until last month, wanting to keep the design intact. I knew
that I wanted to replicate it somehow for my end-of-the-semester gifts
to grad school friends, so I began thinking about how I wanted them to
look and what sort of candy to fill them with. Reese's Pieces were the
obvious choice, as they incorporate most of UMD's colors (ok, not
red, but look at the UMD logo and Testudo image, and you'll see what I mean). For the top of the treat bags, I selected my favorite crafting medium - book pages!
Here's the backstory: Back
in February my mom gave me a little Valentine's Day gift that mixed
together some of my favorite things - owls and candy! She was also proud
of her bow-making abilities (check out that awesome and
complicated-looking bow in the upper left-hand corner!). I liked the
whole concept of the treat bag so much that I didn't even eat the
M&Ms until last month, wanting to keep the design intact. I knew
that I wanted to replicate it somehow for my end-of-the-semester gifts
to grad school friends, so I began thinking about how I wanted them to
look and what sort of candy to fill them with. Reese's Pieces were the
obvious choice, as they incorporate most of UMD's colors (ok, not
red, but look at the UMD logo and Testudo image, and you'll see what I mean). For the top of the treat bags, I selected my favorite crafting medium - book pages!
I've always been a fan of the stamping-on-book-pages look (evidence), like the Etsy pieces below from RococcoCo and collageOrama:


 |
| Happy Fourth! |
I'll break down the steps for assembling below, starting with a picture of my "stamp" contenders:

I ultimately settled on the more detailed image (on right), and while I liked the red version a lot, it was a bit more maroon than I wanted (UMD's color is a solid red), so I opted for green in the end.
Step One: Making Toppers. After figuring out the dimensions of my treat bags from Wiltons, I set up a page on Microsoft Word with screenshots of Alice in Wonderland (taken from the free eBook on Google Books - I downloaded the PDF). After printing off several copies of these pages on white cardstock, I prepped my second Word document, on which I arranged my turtle 'stamps.' I simply used a clip-art from Google Image search, and recolored it via Word's picture tools menu - super low tech, here. Once my second sheet was prepped, I ran the same sheets of cardstock through the printer, layering the turtle images over the Alice text. So, they came out like this:
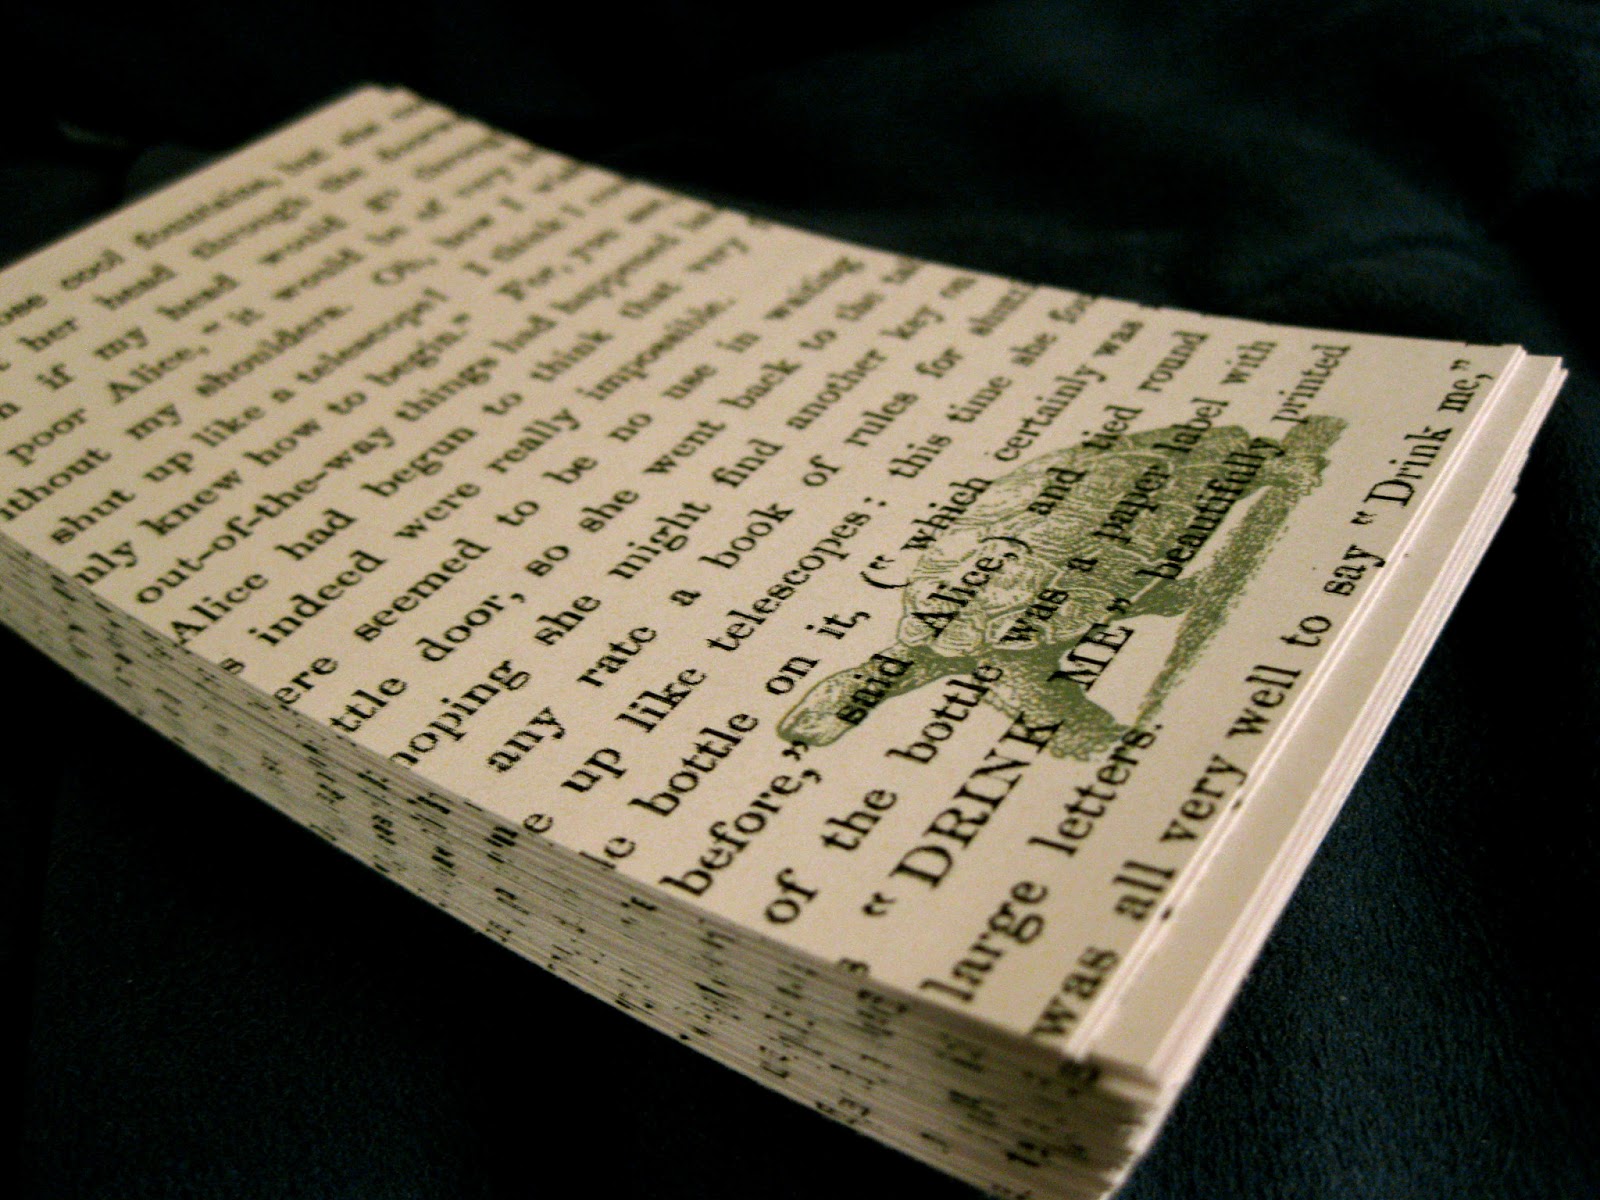 |
| After they were trimmed down to size |


Step Three: Attaching Toppers. I prepped my toppers by folding them all in half so that they were ready for this step. Simply sandwich the top of the bag between the two flaps of the topper (make sure there's enough to catch with your stapler), press the flaps together, and staple 'em shut!


And there you have it! It took me roughly three bags of Reese's Pieces to fill up 45 treat bags, in case you were wondering (I had a hard time guestimating, and ended up having to make a quick return to Target!). I used the back of the toppers to write little notes to recipients with a red Sharpie, which showed up pretty well. I am definitely planning on reusing this idea when I'm back in the classroom - it's really easy to reproduce in bulk, especially if you don't have such an elaborate topper-making process. And they are pretty cost-efficient, so win-win. Plus, people really enjoyed getting them:
@caritasity thanks so much for the treat in my mailbox! You're too sweet!
— Susie Compton (@academicsusie) May 9, 2013
 |
| Testudo Treats! |