Note: This post is really for my parents, since they helped move me in to my new apartment and classroom a little over a month ago; as of this week, I'm finally unpacked (starting my new job two days after moving cross-country will do that to even the most organized of us!). There are still a few to-dos, but they are back-burner for now. Gotta map those curricula and mold those teenage minds, ya know! Anyway, peruse if you're interested, but I won't be offended if you skim over this post. ;)
Apartment Pics (sorry for the bad quality) - click to enlarge!
 |
| Butterfly Corner |
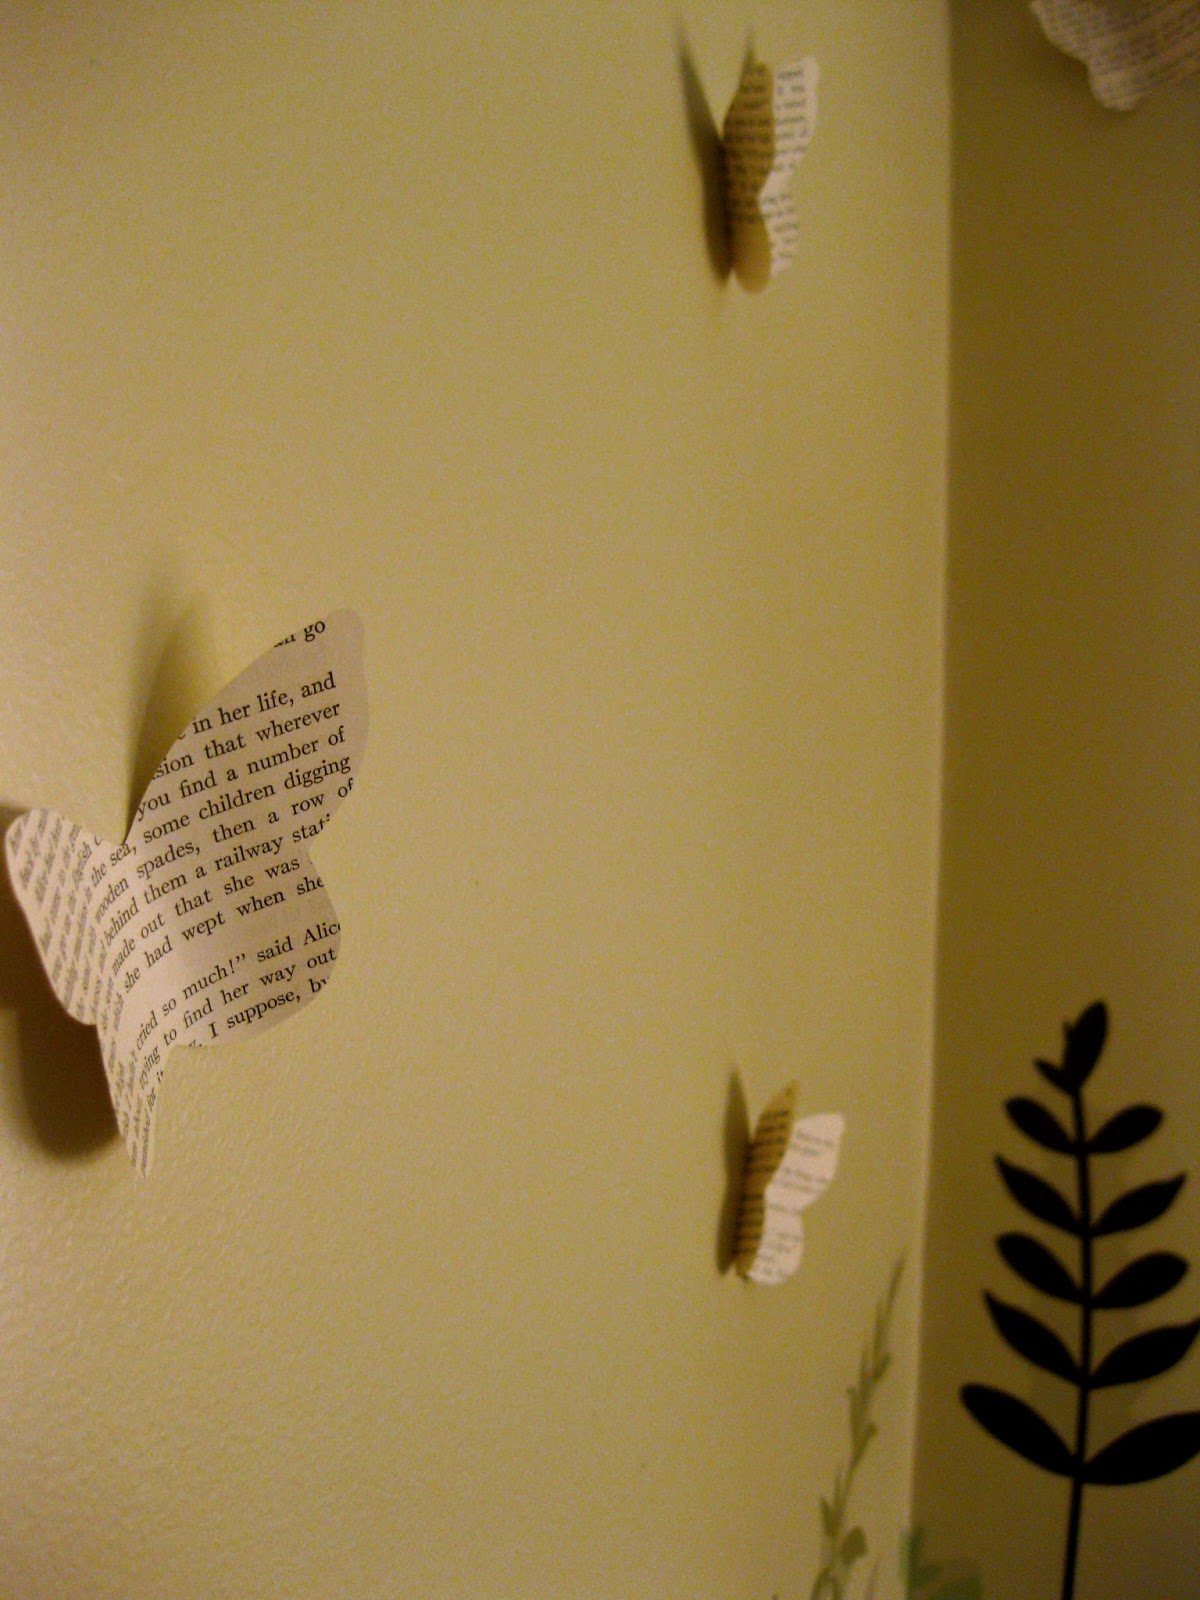
The Butterfly Corner: To perk up a bare corner, I applied some
floral wall art that I discovered at Wal-Mart (and it's reusable!), however, the corner still seemed a bit stark. I got the butterfly idea from a store in town that sells artwork from local craftspeople. When I saw decorative butterflies made from (reinforced) book pages, I said to myself,
Wow, I can do that! So, all I did was create a template out of black cardstock, traced it onto multiple pages of
Alice in Wonderland, and trimmed them out! I rolled/lightly creased them and used double-stick tape to attach them to the wall (controversial, I know, but it doesn't bother the paint on my walls). I like the effect a lot, and it cost me zero dollars!
 |
| Detail Shot! |
 |
| They offer such nice texture on the walls. |
To the left side of the butterfly corner is the couch (excuse the clutter by the DR table, I was in the midst of making curtains for my classroom!):
 |
| I can be OCD about TV remotes... |
And then all the way over is the dining room space, where I found a way to incorporate some of the fruits of my scenic painting theatre class! We practiced two different methods of painting bricks on a single canvas, which I promptly sliced down the middle and reattached to custom frames my dad made for me. There's a small ceiling hook above the table in the corner, and I've played around with the idea of hanging some sort of plant (real or fake) from it, but I can't decide if that would be granny-like! I'd kind of like something that would add to the outside-cafe feel I'm hinting at with the bricks and ivy. *shrug*

Aaaaand here's where we need some more work (below)! I hung a black-brown IKEA
shelf with
brackets on the wall by the door, but the windows definitely need curtains. I also want to up the privacy here - people walk past this window all the time because of the way the apartment building is laid out, so I want to research some different ways to add privacy, beyond filmy curtains (which might look granny-like!). I want to retain as much natural light as possible, though, since I have houseplants and this is the only natural light source for my LR/DR/kitchen. There's probably a double-project here: securing more privacy while also embellishing the windows with curtains. More thought is needed before I move forward.
 |
| This was taken before I hung the wall shelf by the door. |
 |
| People walk right up this sidewalk pretty often. It's a bit unsettling. |
I did hang my large piece of artwork in the entryway - it juuuuust fit! The verse wall art is another Wal-Mart score (reusable, and only 99 cents!). And in the lower right picture, you can kind of see the cord cover I used to hide the electrical cord for the TV/modem/router, since there wasn't an outlet on this wall (stupid). I also traveled all the way to Target (there's not one in my current town) to purchase
these bins for my
IKEA cube shelf, since the color I wanted wasn't available online! They work great - the upper one holds dvds, and the lower one holds... the jumble of cords from the cable/internet/TV hookups! Sneaky, sneaky, I know!
 |
| You can see the wall shelf here. |
I also found a few storage bins for my wire shelf, which functions as a pantry and additional storage. The
black cubes are from IKEA and the bark-imprinted bin on the top shelf was a HomeGoods find. I'd like to make a curtain for the edge that faces the LR, and I think I'd prefer a neutral color, so it blends into the wall better when looking at it from the direction of the front door, if that makes sense. I've kicked around the idea of a table runner, but I haven't found one I like for cheap enough. I did look at fabric at Wal-Mart, but nothing struck my fancy. So that's a tabled project for now.


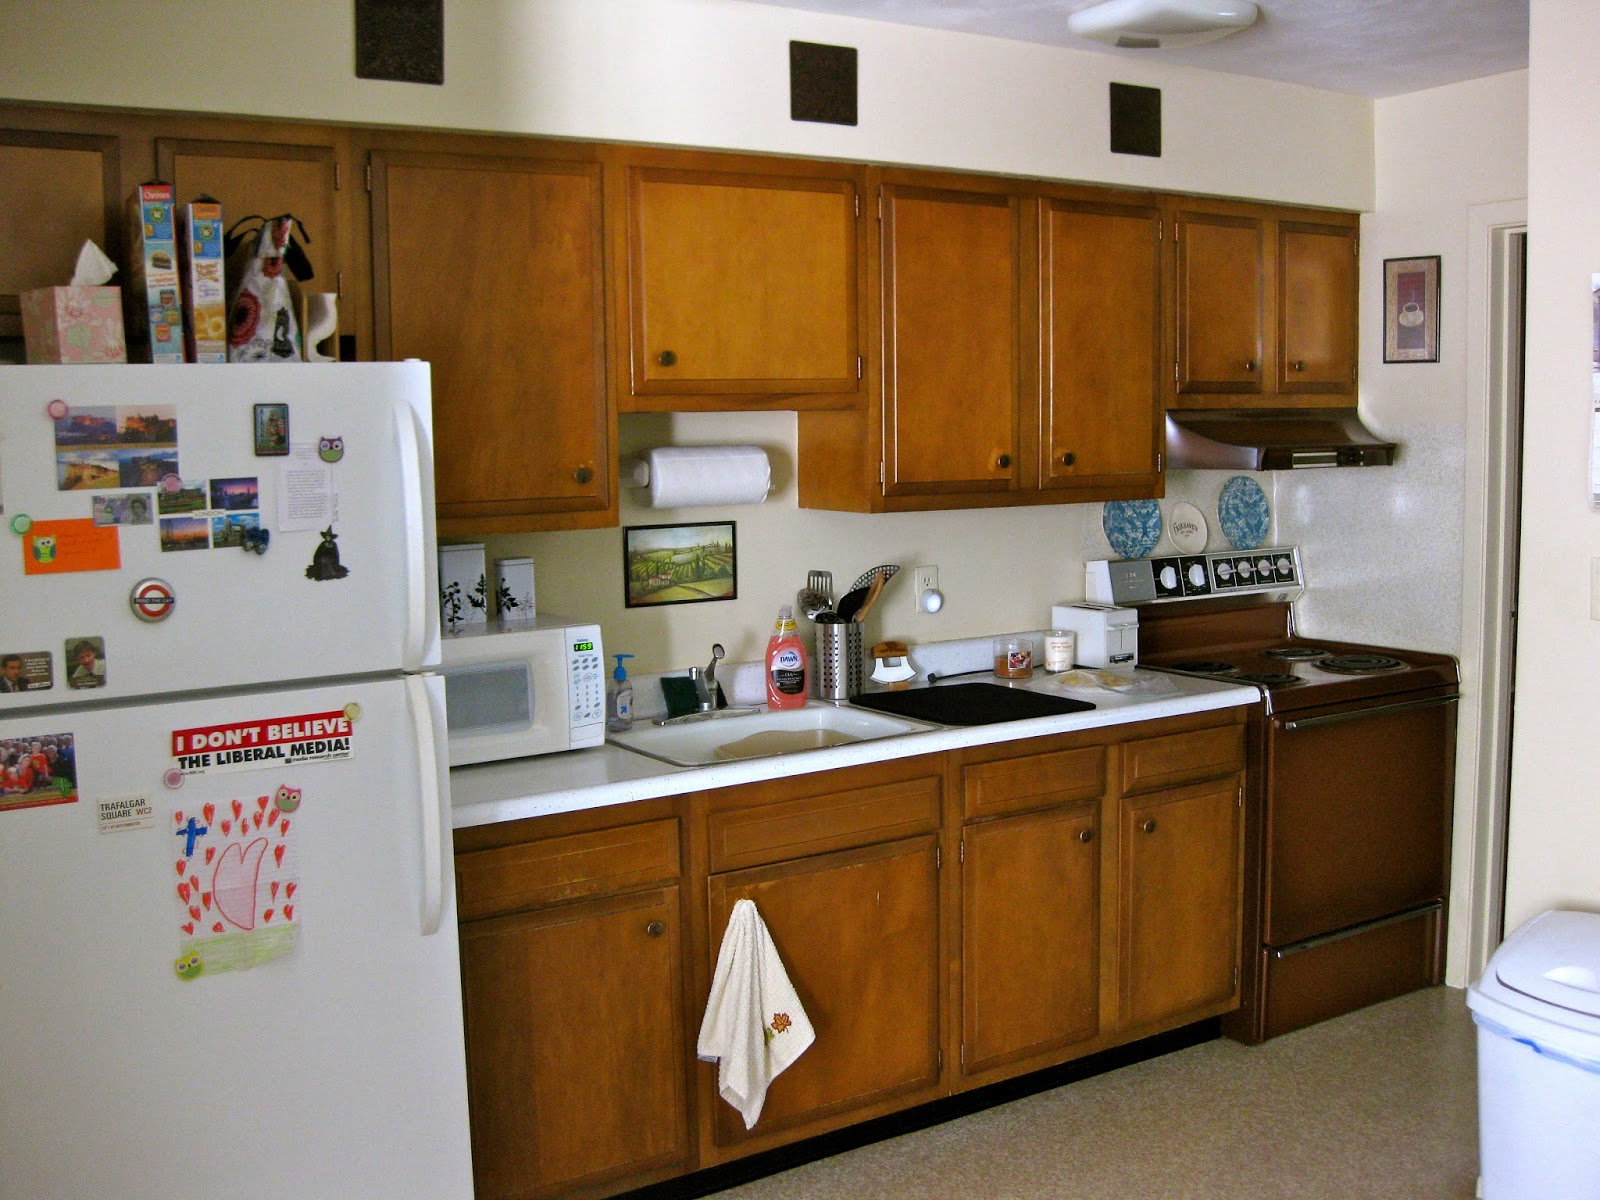
You can kind of see the kitchen in the pic above right - here's another fuller shot. It's a galley kitchen.
 |
| Can you see my fall hand towel? :) |
Bedroom Shots - click to enlarge!
 |
| All unpacked! FINALLY. |
 |
| My little British section. :) |
 |
| Um, my dresser. Ha, I've got nothing else. |
 |
Space is at a premium, but I think it all
fits! However, I did order a wireless switch
for that light in the back - there's no way I
could wade back to it every day! |
 |
| Dontcha' love my anti-theft device(s)? My dad takes care of me. :) |
I was a little skeeved out by the fact that the door blinds didn't reach all the way down to the bottom of the window (despite the fact that someone would have to lay on their back, on concrete, in order to peer up into my room. Nevertheless, problem solved. :) Maybe I'll use the remainder on my LR windows - the bottom pane only. It's a thought...
 |
| You can sorta see the problem on the left door window. |
 |
| When you cut the line curvy, you don't have to worry about straight edges... ;) |
Bathroom Shots - Forgive the tightness of the space.
 |
| The flowers I had matched perfectly! |
 |
| And a matching clock! It helps me to keep moving in the AM. |
 |
Trying to show all the components - and you can see the bare spot above the toilet -
I think I'm going to create a piece of artwork like this (in theme colors) to go there... eventually! |
Classroom Pics - click to enlarge!
 |
Finally decorated my bulletin boards! And threw away a random stick from
the cabinet (I kept it for three weeks... and decided it has no apparent use). |
 |
A fellow teacher gave me the fabric, and I purchased wide
grosgrain ribbon at Wal-Mart for a border (there aren't any
teacher stores nearby, so border is a precious commodity!). |
 |
The Class Rules & Expectations sign is from Teachers Pay Teachers - it's
an awesome site if you haven't checked it out already. |
 |
Some more TpT printouts and my Entertainment covers of The Office, for a unique personal touch. :P
Also, the sophomores don't know it yet, but literature books are coming their way! |
 |
These posters were left behind by the previous teacher - I picked them all off the wall (she had used poster tape on
painted drywall! *shudder*) and laminated them before hanging them in a checkerboard pattern using sticky-tack. |
 |
| Carryover decoration from my teaching time in MD! Doesn't quite fill the wall, though. |
 |
| Books, journals, my awesome owl wallflower from Bath & Bodyworks (given to me by my former roomie - THANK YOU!!! - the kids really like it), and my collection of theatre posters from undergrad. Also, I brought my spider plant in because it wasn't getting enough light in my apartment - it's the only real plant in my room! |
 |
| Confession: A few of these boxes are empty. |
 |
My collection of Medieval paintings...
from a calendar I had in college! |
 |
I got the printout on my podium from...
Teachers Pay Teachers! My kids get a kick
out of it! It says "Please Raise Your Hand if you
[Mustache] A Question!" |
 |
| My desk - and curtains! |
 |
Turning my desk the way I did meant that all
of these cords were a visible mess from the
doorway, until... |
 |
I covered them with a curtain! I picked out a
fabric that I really liked at Wal-Mart and
"sewed" curtains with a hot glue gun! I used
a short tension rod to hang it on. |
 |
I used the same procedure for my room
curtains as well - I creased the hems using a
hair straightener. :P Worked like a charm. |
 |
| The other window! |
 |
Finally got a chance to cover the back bulletin boards as well - the same nice coworker who gave me fabric also gave
me some wallpaper - the blue ran a little short, so I had to get creative. :P Give me a few weeks to put stuff on them, k? |
 |
I found a chevron-patterned desk calendar on
sale at Target... SCORE! |
 |
| Cell phone jail! Thanks, Pinterest! ;) |
 |
I fit a surprising amount of stuff in this cabinet,
with room to spare! |
 |
My shelf, with its morning-coffee basket
(we have a Keurig in the teacher's lounge). |
 |
| I definitely don't get tired of this view - especially on foggy mornings! |