Showing posts with label holiday. Show all posts

Monday, June 23, 2014

Door Décor: Patriotism and Paper Rolls

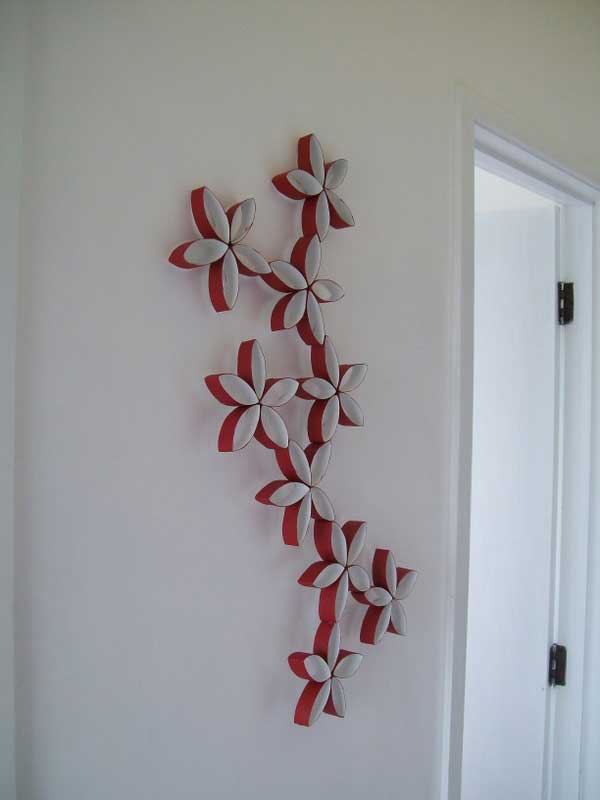
A popular trend that I've been seeing online lately is that of toilet paper roll wall art. No lie. These creations are awesome, and they're made of re-purposed toilet paper rolls.

Wrought Iron
Flowers
Wreaths

Inspired by the above right image, I decided to craft my own toilet paper roll art for my poor bare front door (I took down my winter sunburst a few weeks ago and haven't had time to make a replacement). I knew I wanted something red, white, and blue, since July 4th is right around the corner. So, I set about collecting my supplies (I ended up using three toilet paper rolls and one paper towel roll) and getting to work.

Step One: Painting! I decided to make five flowers, so I painted my three toilet paper rolls (one per flower) red and my paper towel roll blue (out of which I'd make two blue flowers). Luckily I already had red and blue paints on hand, leftover from this craft.


Step Two: Cutting! After the paint dried, it was time to slice it up! A few sites recommended using an X-Acto knife and a cutting board, after meticulously measuring and tracing lines... I used a ruler, marked out sections 3/4" wide down one side of each tube, then sliced them apart using my trusty old scissors. ;)


Step Three: Gluing! It definitely would have been faster to use my hot-glue gun to attach my segments together, but since I was going to be hanging my creation on my front door in June, I knew it would all melt off. I opted for Tacky Glue, which I had on hand, and which will hopefully hold up to the baking sun. *fingers crossed*

I first attached the 'petals' together in sets of two.
After drying all day, I added my third 'petals' into the mix to dry overnight.
The next morning I was ready to combine my sections...
...into a complete flower!

After all my individual flowers dried, I then started laying them out in a variety of patterns until I figured out my final design. I then glued-and-waited one last time (overnight), and the following morning I had my door décor!

I was so glad I had these mini-clothespins (leftover from my 2013 birthday bash) in my craft supplies -
they were super handy for this project!

While I originally liked a vertical layout, I realized it
needed to be horizontal to accommodate my storm door.
There's a better, unobstructed view. :) Also, please ignore
the blurred out apartment numbers - privacy, yo!


Sorry for the blinding-sun vibe on that last pic - the colors of the flowers really weren't coming across in the photo, so I lightened it. I think I'd advise painting the inside of the 'petals' so as to really make the colors pop (maybe a touch-up for next year, if they weather the next few months!). Spray-painting would be an easier route in that case, I'm sure. At any rate, I'm pleased with it and glad to try a new craft that didn't cost a cent (I used a bit of on-hand jewelry wire to hang it)! And, since I am heading off on a grand adventure to Texas tomorrow (by way of L-ville and a certain Texan man of mine), it'll certainly do. ;)

Thursday, April 17, 2014

Easter Treat Repeat

I whipped up some Easter treats for a few coworkers this year - they might look a little familiar, as they bear a striking resemblance to these little treat boxes that I made for friends last year. ;) I scored these cute little candy holders at Target around this time last spring - I lined them with some tissue paper, filled them with jelly beans, and tucked in a little handmade sign that is simultaneously cheesy ("hoppy Easter!") and literary (I cut out the bunny silhouettes from a copy of Sense and Sensibility). 


There in the ground His body lay
Light of the world by darkness slain:
Then bursting forth in glorious Day
Up from the grave he rose again! (more)

Wednesday, December 25, 2013

A Merry Little Christmas Party

Last year I co-hosted a Christmas party with my brother to inaugurate his new basement and, of course, to celebrate the holidays! Since I never shared any of the crafty decorations I made for it, I figured a solid year later would be perfect timing. :P


Using some of my favorite crafting media (book pages, branches), I set about making decorations that incorporated materials that I had on hand, or could obtain for cheap. One of my favorites turned out to be the little trees you see lining the window sills above. I got the idea from my bestie, Martha Stewart - the original craft is for place cards, but they made the cutest accents as well. And after the party, I sent them home with guests as mini favors.

The sprigs I snipped from greenery in surrounding areas (like my apt. complex, outside my office, on the way home...lol)

Continuing with the natural theme, I looked for ways to incorporate branches and fresh greenery into the décor.

Always have to have the red and green M&Ms!


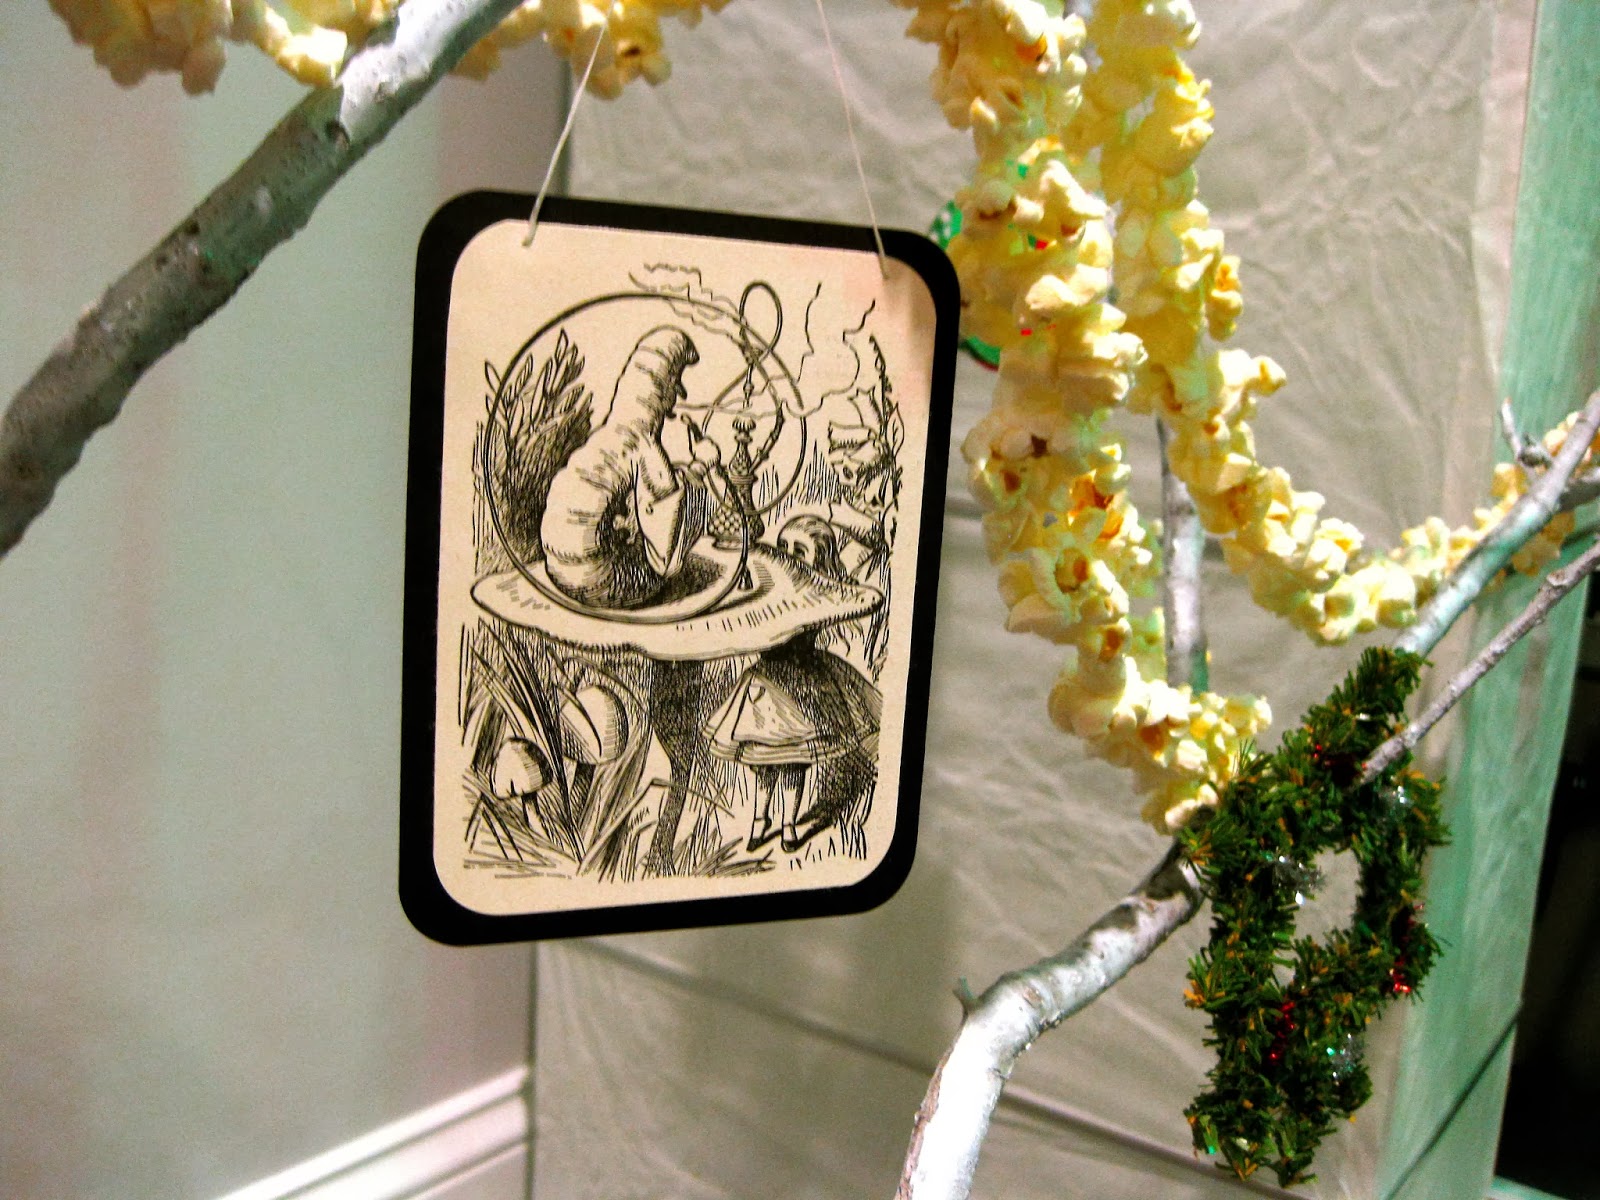
Evergreen sprigs, bits of holly, pinecones, and magnolia leaves worked as well to bring a bit of the outdoors inside. Going with the whimsical, I framed out illustrations from a copy of Alice in Wonderland to hang from the branches of my arrangements. The largest one I adorned with popcorn garlands and mini wreaths in addition to a few paper ball ornaments I made with leftover pieces of patterned paper.


I also used a few of the pages to line the backs of cookie-cutters, turning them into ornaments. Another Martha-inspired craft, although the original craft used wrapping paper instead of book pages.


You might have noticed the little paper trees peeking in the background of different pictures - they were really simple to make, instructions here!


I also used book pages to make a banner (I drew on the letters with Sharpies)...


... and these really sweet wreaths! They were a little time-consuming, but not very difficult. I used some German playing cards that I had on hand to cover the center portion where it tends to get messy (where all the cones come together). You can find the tutorial I used here.

The icicles are just tissue paper!


Cheery fire


A few other fun accents were paper chains, paper medallions, and cheery luminaries lining the front walk. The paper medallions were made using seventeenth-century newspaper articles I had printed out for one of my grad classes (recycle, right?) and old Christmas cards for centers. The luminaries consisted of red paper bags layered over white ones - I used an Exacto knife to cut out a simple design on each of the red bags, then placed Mason jars with tea lights inside (it was a windy/rainy night, if I recall).


We had a full potluck dinner, complete with an impressive variety of desserts, and a white elephant gift exchange, where I'm pretty sure this was the top steal. :) A fun time was had by all who attended!

Friday, December 13, 2013

Handy Halloween Treats

Yikes, this is overdue, but I wanted to put it up now - better late than never, right? These are some handy treats I whipped up for my colleagues right before Halloween this year. The ingredients are simple: clear plastic disposable gloves, popcorn, and candy corn! I wish I could remember where I first saw this idea, but it's been years. I think it was a magazine. At any rate, the process is so easy - the hardest thing is probably tying off the bags once their full, since you tend to have slippery fingers (from the buttery popcorn!). Just drop a piece of candy corn in each finger, then fill the glove with popcorn - you made need to work it a little to fill out each finger. Then tie it off with a twist-tie - I slipped notes on mine as well. Fun, cute, and easy! :)

Saturday, July 13, 2013

A Sweet and Simple Fourth

I know, I know, the Fourth of July was a week and a half ago, but moving at the end of June and beginning my summer job this past week have kept me so busy, it's ridiculous. And add to that an unplanned (and yet hopeful, in terms of job-seeking!) overnight trip to Ohio this weekend. Whew. But anyway, back to the Fourth. I just wanted to share a quick (and VERY easy) dessert treat that we made, along with our decorations from this year and last (some of which we recycled for this year!). The dessert comes courtesy of my friend Beth, who gave me the idea the week before. Ready?

Step One: Follow the instructions on a cookie mix for sugar cookies (or you can whip the dough up from scratch, if you're that sort of person).

Step Two: Take your dough and spread it on a pizza pan like a crust. We lined our pan with parchment paper for easy non-stick serving. Bake your super-huge cookie until it's that lovely shade of golden-brown. We just eyed ours until we could tell it was ready, but I bet you could find a more specific time limit online.

Step Three: Once your cookie crust is cool, layer on the Cool Whip! We didn't use entire tub, if I remember correctly - just spread it on until you have a nice thick covering.

Step Four: Select and arrange your fruit! My friend's version had blueberries, strawberries, kiwis, and possibly more - we stuck to the red, white, and blue holiday colors, so we used blueberries and strawberries. Starting with the strawberries, I just laid out a circular pattern, eventually adding blueberries in the open spaces.

Step Five: Cut and serve! It's so simple, but it's really delicious and versatile. And it has fresh fruit on it, so it can't be THAT bad for you, right? ;)

Mmmmmmmmm.....

Click to Enlarge
As for decorations, we had a pretty simple spread, since our Fourth was a low-key affair (I think we were still recuperating from my move!). We did use paper straws, which are an easy way to festivize any meal. My mom also does this cup-layering trick to dress up plain plastic cups (which she prefers since they are larger than typical paper cups), so that helped as well. We also pulled out some past decorations, like the balloon-weight-turned-centerpiece from Memorial Day and the paper burlap banner from last year.

Click to Enlarge
Click to Enlarge

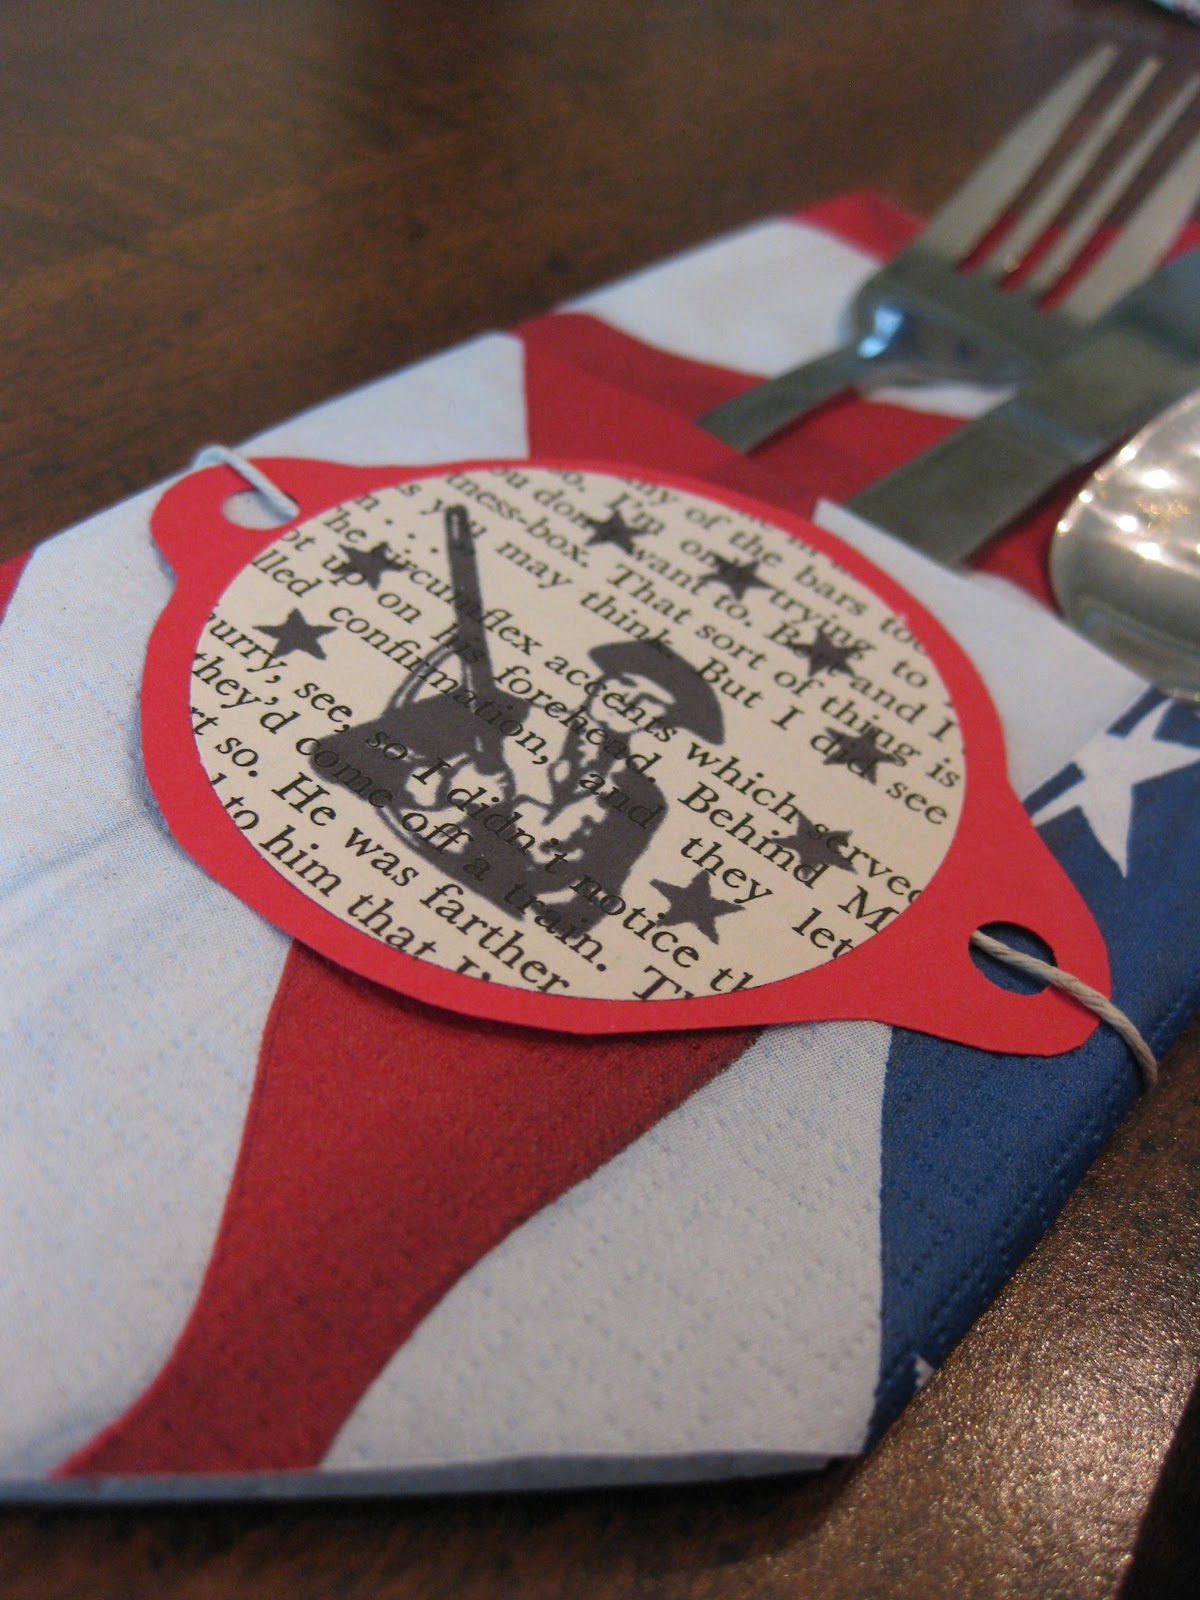
Something we did last year, but not this time around, was use a decorating method that eventually became the basis for my Testudo treat-toppers from this past May. We ran old book pages through our home printer to digitally "stamp" images and text on them. We used clip art and text in Microsoft Word to create our designs (both are mashups, actually). Check them out!

Spinner decoration (with the same design on both sides)
Silverware/napkin adornment


I'd like to note that I traced the words "happy fourth!" on the spinner with a Sharpie marker so they would stand out more sharply. We also made a few festive pinwheels, which we tucked into an embellished Mason jar to sit on the table - we didn't save them, since they are so easy to whip up, and less easy to store without crushing. You can find an easy tutorial here.


Hope everyone had a Happy Fourth!

Sunday, March 31, 2013

Hoppy Easter!

I found these little Easter boxes at Target a few weeks back and decided to use them as Easter candy-holders for a few friends. I whipped up their presentation pretty quickly (it's been a busy week!), and since they still came out pretty cute, I thought I'd share:


I lined the boxes with sheets of purple and yellow tissue paper, filled them with jelly beans, and tucked in a little card that I made with cardstock and my favorite material: old book! After cutting out four sets of bunny ears and heads, I used a glue stick to attach them to my cards (that I prepped with a border), which taper at the bottom to fit in the boxes better. Then I finished them off with whiskers and a choice cliché - and voilà! Happy Easter, folks!


"Do not be afraid, for I know that you are looking for Jesus, who was crucified. 
He is not here; he has risen, just as he said."

Friday, March 22, 2013

Penguin Feet and Marshmallow Teeth

Since I've been at my parents' home in DE the past week, taking a break from D.C. and working on graduate work (yay Spring Break), I thought I'd collaborate with my momma on this post and bring you a few of her Pinterest-inspired classroom crafts! She teaches first grade in a private school, and like any good elementary school teacher, she often displays her students' artwork in the hallway outside of her classroom. The photo below shows one of her January crafts, footprint penguins:


I've gotta admit, they are pretty cute. When I asked my mom where she got the idea to do a penguin craft, she replied simply, "Because it was winter." Well, I really can't argue with that. I mean, it makes sense. She did offer a bit more in terms of where the idea for footprint penguins originated. As a fan of 'Pi-nin-terest' (don't worry, we've worked that pronunciation out), she simply typed in 'penguin' and received results like these:


She then mixed together a few of these ideas for her own take on footprint penguins, one that was feasible for her classroom. She had her students come back individually during seatwork time (which comes after reading groups, in case you were wondering about the timeline here) to make their footprints - they painted one foot black and placed it on paper, which was simultaneously cold (the paint) and hilarious (they had their feet on the READING TABLE!). Later, they painted their little white bellies, dotted and connected their earmuffs (gotta love the bingo marker!), and attached paper beaks, wings, and eyes. They were a huge hallway hit - after Mom removed them in preparation for another display, a parent walked by and commented, "Aw, you took down the penguins!" That's high praise in the education profession, let me tell you. ;)

Some Footprint Penguin Exemplars

For Illustrative Purposes Only
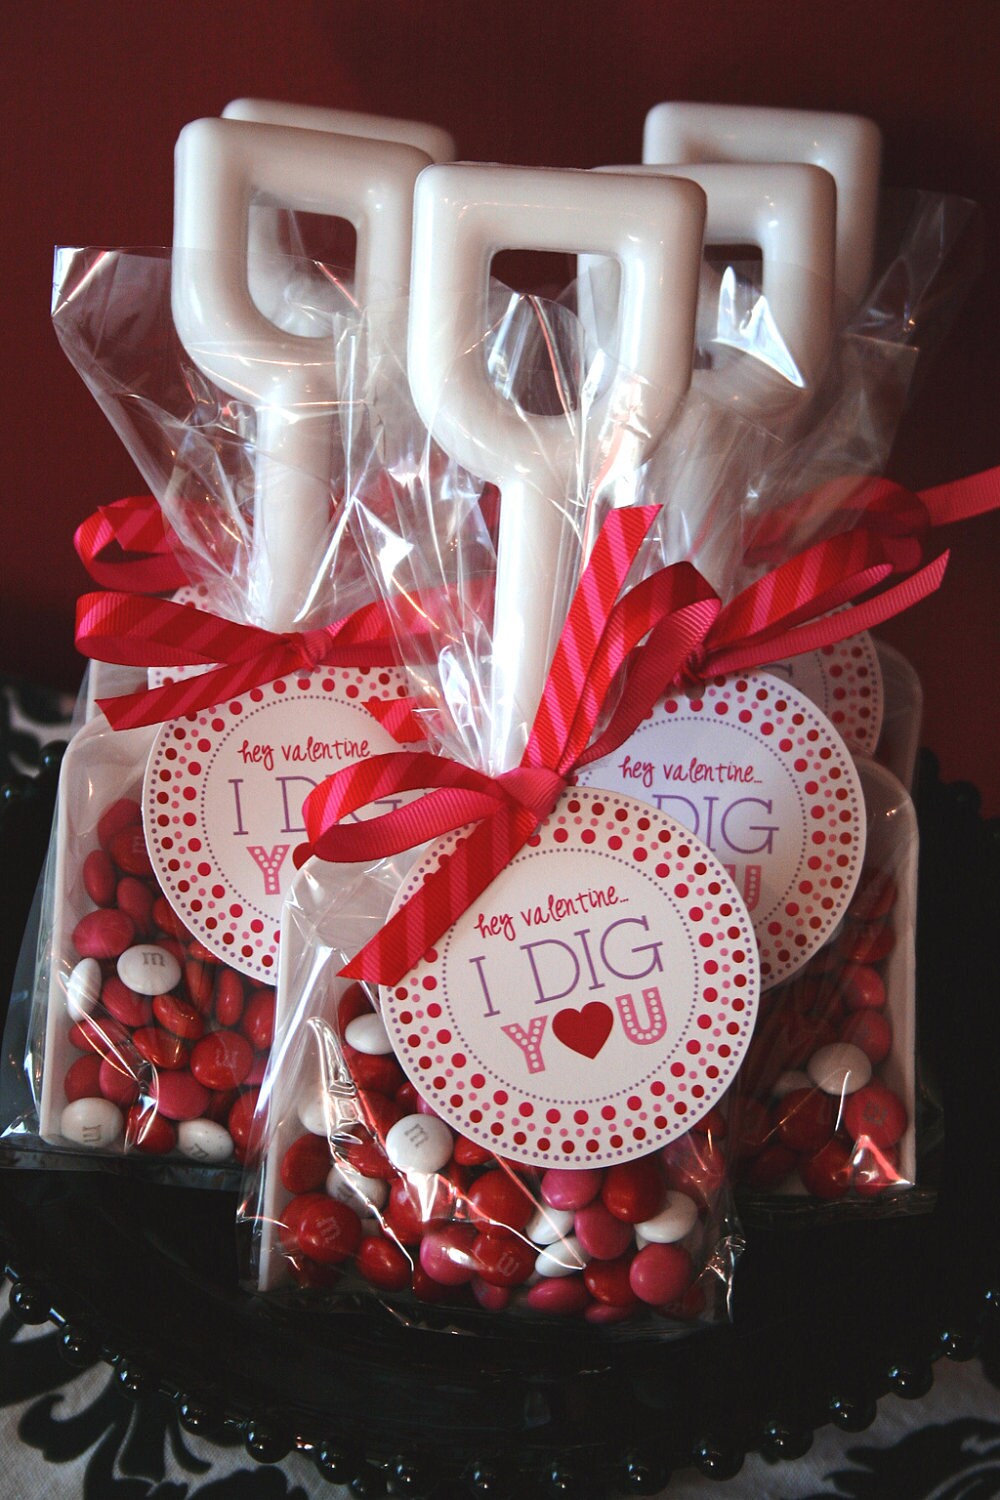
Moving into February - more specifically, Valentine's Day! There's this really cute craft on Pinterest and Etsy that combines plastic shovels, candy, and cute baggies with some sort of note that says something to the effect of "I dig you, Valentine!" Cute and simple, yes. Inexpensive? Not so much. My example to the left from an Etsy shop costs $9.00 for the printable. That's just the electronic file of the tag. JUST A PICTURE OF A TAG COSTS NINE DOLLARS?!? Crazy. So, undeterred, my mom went on a search for plastic shovels to make her own version (the apple doesn't fall far from the tree, folks), and while she found shovels (good), they cost a dollar a pop (bad when you have seventeen students). So, my mom decided that maybe she didn't totally dig her students an entire shovel-full. Maybe just more like a spoonful, à la Frank Morris and the Anglin brothers. And red spoons were ten for a dollar. ;)

Spoon Guy!


Combining the spoons with items she already had on hand (except for a bag of Valentine M&Ms, which she purchased for the craft), she was able to create a bunch of these little cuties (at right). She melted some almond bark chocolate in the microwave and drizzled it on each of the spoons, pressing in M&M noses and candy eyeballs (from Hobby Lobby! and now Walmart, since we were running low) before the chocolate hardened. Then she just used lollipop bags (yup, that's their technical term) and ribbon to fix them up for distribution! Her kids' reaction? Laughter, followed by immediate consumption.


The week following these gifts of chocolate spoonfuls was Dental Health Week. Nice, right? According to my mom, "Kids are always told to brush their teeth, brush their teeth, brush their teeth, so I decided to zero in on flossing this time." Typing "dental health" into Pinterest returned this board, and one of the crafts fit perfectly with the whole flossing angle. And it gave Mom a use for the leftover marshmallows from December's gingerbread houses. Always frugal, my mother. The steps were simple - students were given folded pieces of pink paper and told to draw a curve like a rainbow to cut along. Apparently, several of them equate rainbows to triangles and ended up with what my mom termed "an alligator mouth." The alligator mouths did not make it into the photo at left - we restricted photography to mouths that resembled those of humans (despite the marshmallow teeth). Oh, and the most important part - after gluing in their teeth, students strung floss and secured it between teeth with glue drops.

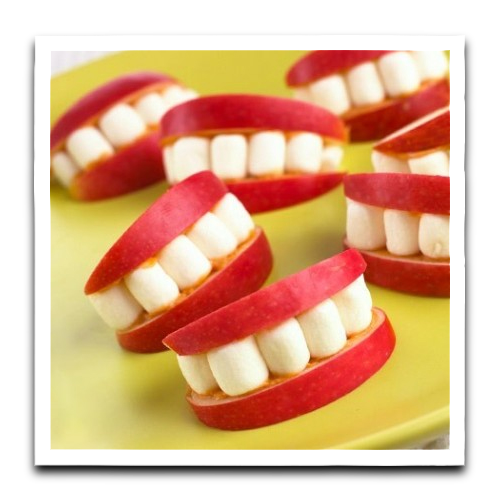
Another activity for Dental Health Week was a brushing chart that students took home and recorded five days' worth of morning and night teeth-brushing sessions - if they turned it in, completed, at the end of the week they got a "good for your teeth treat." Ah, positive reinforcement, I miss you. I would love bags of Skittles for my grad work right now. But, that's besides the point. My mom originally found these apple mouths on Pinterest:


Ok, so that last one wasn't originally on the list. I just saw it and thought it was so cute! And counterproductive to dental health. But, whatever. Anyway, the first two are legit. However, they were immediate no-gos for my mom, since she has a student who is allergic to peanuts (the teeth in the left pic are peanuts and PB holds the marshmallows in place in the center one). We're talking can't-sit-at-same-lunch-table-as-students-with-PBandJ-sandwiches allergic. So, my mom improvised and used her candy eyes and some fruit roll-ups (remember those?) to make these little guys:

She was pretty pleased with her little apple mouths and their fruity tongues, whereas my first reaction was somewhere along the lines of "ew, bloody mouths!" Then I wondered if tongues could really be factored into the DENTAL health equation... I mean, they aren't like gums, which are dental by association (Listerine gingivitis commercials anyone?). But, the kids had neither reaction and gobbled these fellas right up! Come to think of it, I probably would too. ;)

And now you can see how my mother and I are living proof that the craft gene is indeed passed down from mother to daughter, it just mutates in the process - one may sew and make cards (my mom) whereas the other is incredibly beautiful and talented. Whoops, that's not necessarily crafty. But I'll let it stand. :P