Showing posts with label candy. Show all posts

Wednesday, October 1, 2014

Pill Box (Remix)

A few weeks before Mother's Day this year I stumbled on a blog post detailing how to make this cute candy gift box out of an oversized pill box. I decided to make one for my mom (it's mail-friendly, which is a perk when you live out of state!), and while she liked it, I felt sort of like a child bringing home a macaroni necklace for her mom's birthday. Meh.

However, I really liked the concept, so I remixed it a few weeks later for a cute congrats gift for my brother, who had just finished up his last class for his MBA. He lives in DC, so a mail-friendly gift was just what I needed.


I kept the same ideas from the original, making a few little tweaks to fit my purposes. I used labels to cover both sides of the flip lids (to keep the large day-of-the-week letters from showing) and used Sharpies to write out a more appropriate greeting - "HOORAY!" - for the occasion.

I trimmed out colorful pieces of cardstock to fit inside each compartment (this idea was in the original craft), then decorated each one with a little congrats note.


 After they were all finished, I sprinkled them into the pill box:


 I then tucked a Riesen (T's favorite candy) inside each compartment - they were a perfect fit!


After snapping each lid shut, it was ready to go! The whole thing cost $2.00 - $1 for the pill box (from Dollar Tree) and $1 for a mini bag of Riesens (also from Dollar Tree). Everything else (labels, cardstock, Sharpies) I had on hand. Easy-peasy! 

Thursday, April 17, 2014

Easter Treat Repeat

I whipped up some Easter treats for a few coworkers this year - they might look a little familiar, as they bear a striking resemblance to these little treat boxes that I made for friends last year. ;) I scored these cute little candy holders at Target around this time last spring - I lined them with some tissue paper, filled them with jelly beans, and tucked in a little handmade sign that is simultaneously cheesy ("hoppy Easter!") and literary (I cut out the bunny silhouettes from a copy of Sense and Sensibility). 


There in the ground His body lay
Light of the world by darkness slain:
Then bursting forth in glorious Day
Up from the grave he rose again! (more)

Sunday, May 12, 2013

Testudo Treats

As many people know, the official mascot for the University of Maryland is the terrapin (or a terp, for short... er, yeah). As fewer people know, I'm about ready to graduate from UMD with my Masters degree (HOORAY), which also explains the delay on this post. To share the happiness and indulge in sentimentality, I wanted to make some little goodbye/good luck/congrats-fellow-graduate gifts for those I'm leaving behind, and I came up with these little treats:


Here's the backstory: Back in February my mom gave me a little Valentine's Day gift that mixed together some of my favorite things - owls and candy! She was also proud of her bow-making abilities (check out that awesome and complicated-looking bow in the upper left-hand corner!). I liked the whole concept of the treat bag so much that I didn't even eat the M&Ms until last month, wanting to keep the design intact. I knew that I wanted to replicate it somehow for my end-of-the-semester gifts to grad school friends, so I began thinking about how I wanted them to look and what sort of candy to fill them with. Reese's Pieces were the obvious choice, as they incorporate most of UMD's colors (ok, not red, but look at the UMD logo and Testudo image, and you'll see what I mean). For the top of the treat bags, I selected my favorite crafting medium - book pages!

I've always been a fan of the stamping-on-book-pages look (evidence), like the Etsy pieces below from RococcoCo and collageOrama:


Happy Fourth!
I looked far and wide for a suitable turtle stamp for my treat bags... but no such luck. However, last Fourth of July, my mom and I created some decorations like this little twirler (right) by running a vintage book page through our home printer - pretty sweet, huh? So, when I hit a dead end in the stamp search, I came up with the next best thing - printing off color turtle images on pre-printed cardstock. Why not use actual book pages? Well, for one, I definitely wanted cardstock for the treat bag toppers (for sturdiness), and most books aren't printed on cardstock. Also, it was much easier to print off a set of four toppers on a sheet of cardstock (and then cut them apart) than trimming down four pages (I made 45 treat bags total, during the semester crunch, so easier = better).

I'll break down the steps for assembling below, starting with a picture of my "stamp" contenders:


I ultimately settled on the more detailed image (on right), and while I liked the red version a lot, it was a bit more maroon than I wanted (UMD's color is a solid red), so I opted for green in the end.

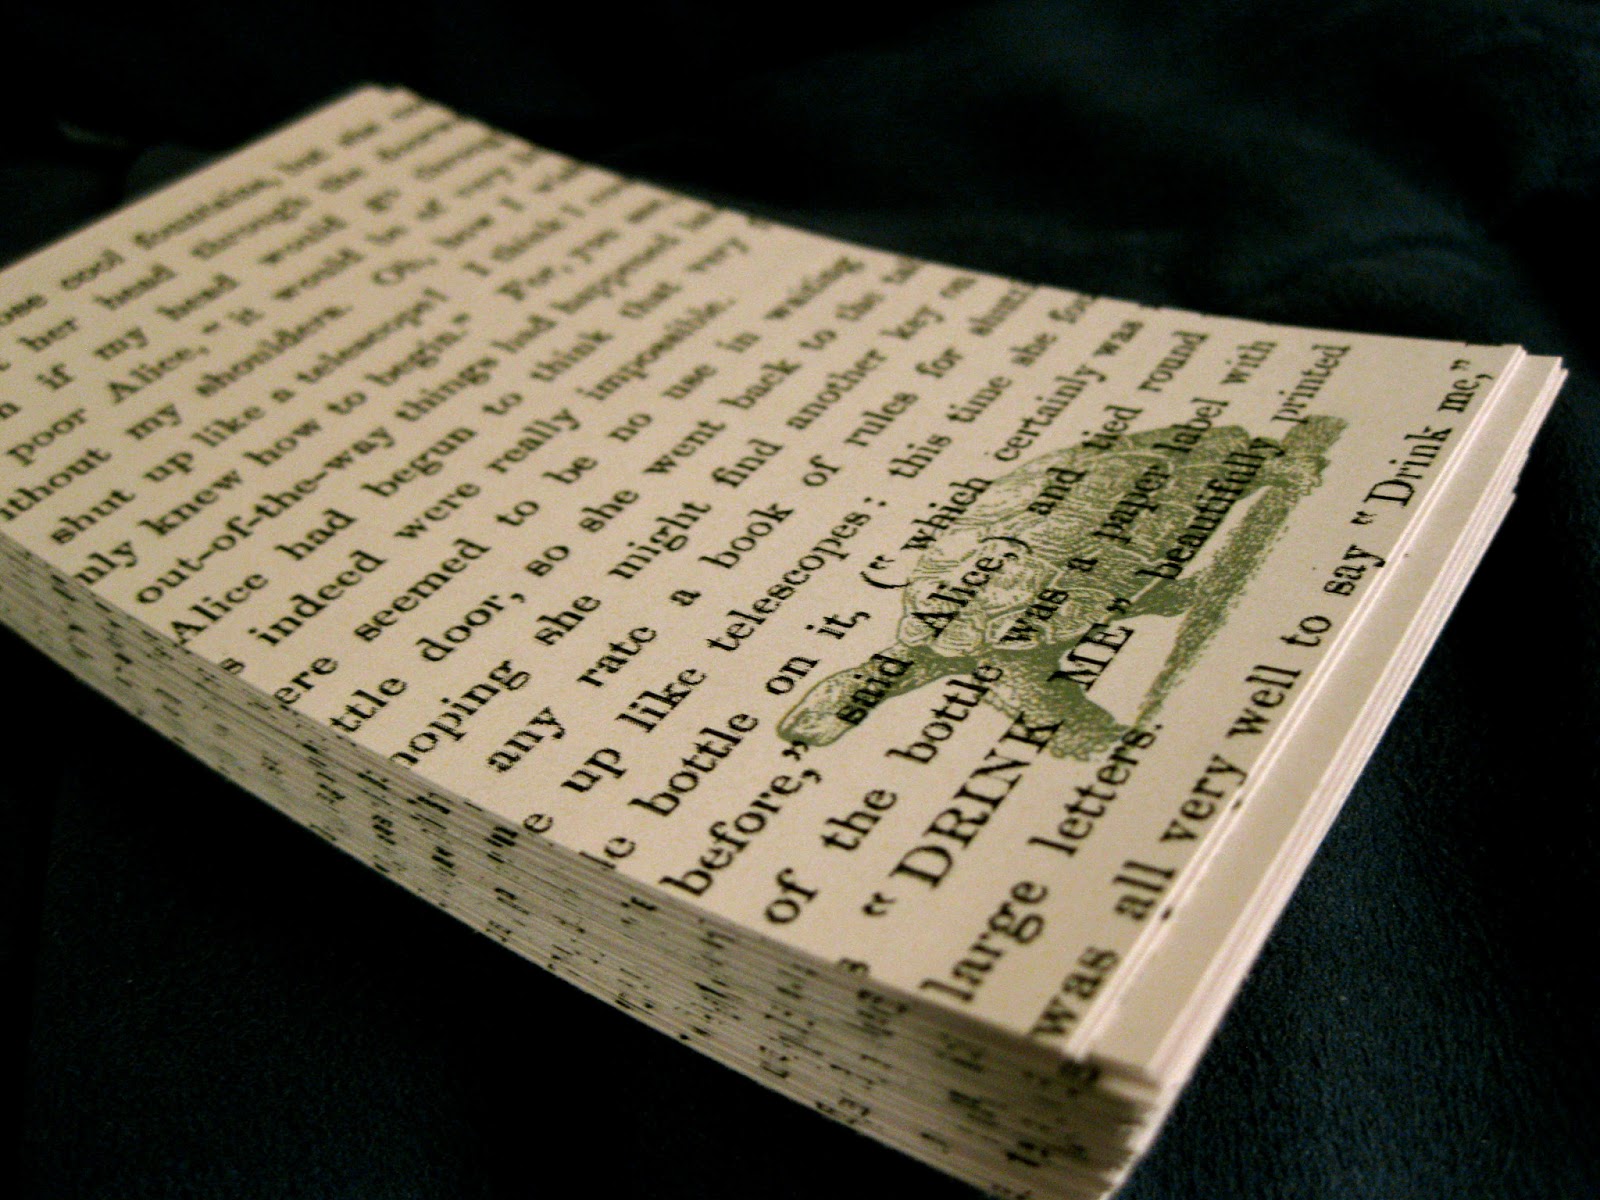
Step One: Making Toppers. After figuring out the dimensions of my treat bags from Wiltons, I set up a page on Microsoft Word with screenshots of Alice in Wonderland (taken from the free eBook on Google Books - I downloaded the PDF). After printing off several copies of these pages on white cardstock, I prepped my second Word document, on which I arranged my turtle 'stamps.' I simply used a clip-art from Google Image search, and recolored it via Word's picture tools menu - super low tech, here. Once my second sheet was prepped, I ran the same sheets of cardstock through the printer, layering the turtle images over the Alice text. So, they came out like this:

After they were trimmed down to size
 

Step Two: Filling Treat Bags. A little goes a long way with these, which was good for my budget. I just dropped in a little scoop of Reese's Pieces (after I peeled open the bag - curse you, static cling!).


Step Three: Attaching Toppers. I prepped my toppers by folding them all in half so that they were ready for this step. Simply sandwich the top of the bag between the two flaps of the topper (make sure there's enough to catch with your stapler), press the flaps together, and staple 'em shut!


And there you have it! It took me roughly three bags of Reese's Pieces to fill up 45 treat bags, in case you were wondering (I had a hard time guestimating, and ended up having to make a quick return to Target!). I used the back of the toppers to write little notes to recipients with a red Sharpie, which showed up pretty well. I am definitely planning on reusing this idea when I'm back in the classroom - it's really easy to reproduce in bulk, especially if you don't have such an elaborate topper-making process. And they are pretty cost-efficient, so win-win. Plus, people really enjoyed getting them:


Testudo Treats!

Sunday, March 31, 2013

Hoppy Easter!

I found these little Easter boxes at Target a few weeks back and decided to use them as Easter candy-holders for a few friends. I whipped up their presentation pretty quickly (it's been a busy week!), and since they still came out pretty cute, I thought I'd share:


I lined the boxes with sheets of purple and yellow tissue paper, filled them with jelly beans, and tucked in a little card that I made with cardstock and my favorite material: old book! After cutting out four sets of bunny ears and heads, I used a glue stick to attach them to my cards (that I prepped with a border), which taper at the bottom to fit in the boxes better. Then I finished them off with whiskers and a choice cliché - and voilà! Happy Easter, folks!


"Do not be afraid, for I know that you are looking for Jesus, who was crucified. 
He is not here; he has risen, just as he said."

Friday, March 22, 2013

Penguin Feet and Marshmallow Teeth

Since I've been at my parents' home in DE the past week, taking a break from D.C. and working on graduate work (yay Spring Break), I thought I'd collaborate with my momma on this post and bring you a few of her Pinterest-inspired classroom crafts! She teaches first grade in a private school, and like any good elementary school teacher, she often displays her students' artwork in the hallway outside of her classroom. The photo below shows one of her January crafts, footprint penguins:


I've gotta admit, they are pretty cute. When I asked my mom where she got the idea to do a penguin craft, she replied simply, "Because it was winter." Well, I really can't argue with that. I mean, it makes sense. She did offer a bit more in terms of where the idea for footprint penguins originated. As a fan of 'Pi-nin-terest' (don't worry, we've worked that pronunciation out), she simply typed in 'penguin' and received results like these:


She then mixed together a few of these ideas for her own take on footprint penguins, one that was feasible for her classroom. She had her students come back individually during seatwork time (which comes after reading groups, in case you were wondering about the timeline here) to make their footprints - they painted one foot black and placed it on paper, which was simultaneously cold (the paint) and hilarious (they had their feet on the READING TABLE!). Later, they painted their little white bellies, dotted and connected their earmuffs (gotta love the bingo marker!), and attached paper beaks, wings, and eyes. They were a huge hallway hit - after Mom removed them in preparation for another display, a parent walked by and commented, "Aw, you took down the penguins!" That's high praise in the education profession, let me tell you. ;)

Some Footprint Penguin Exemplars

For Illustrative Purposes Only
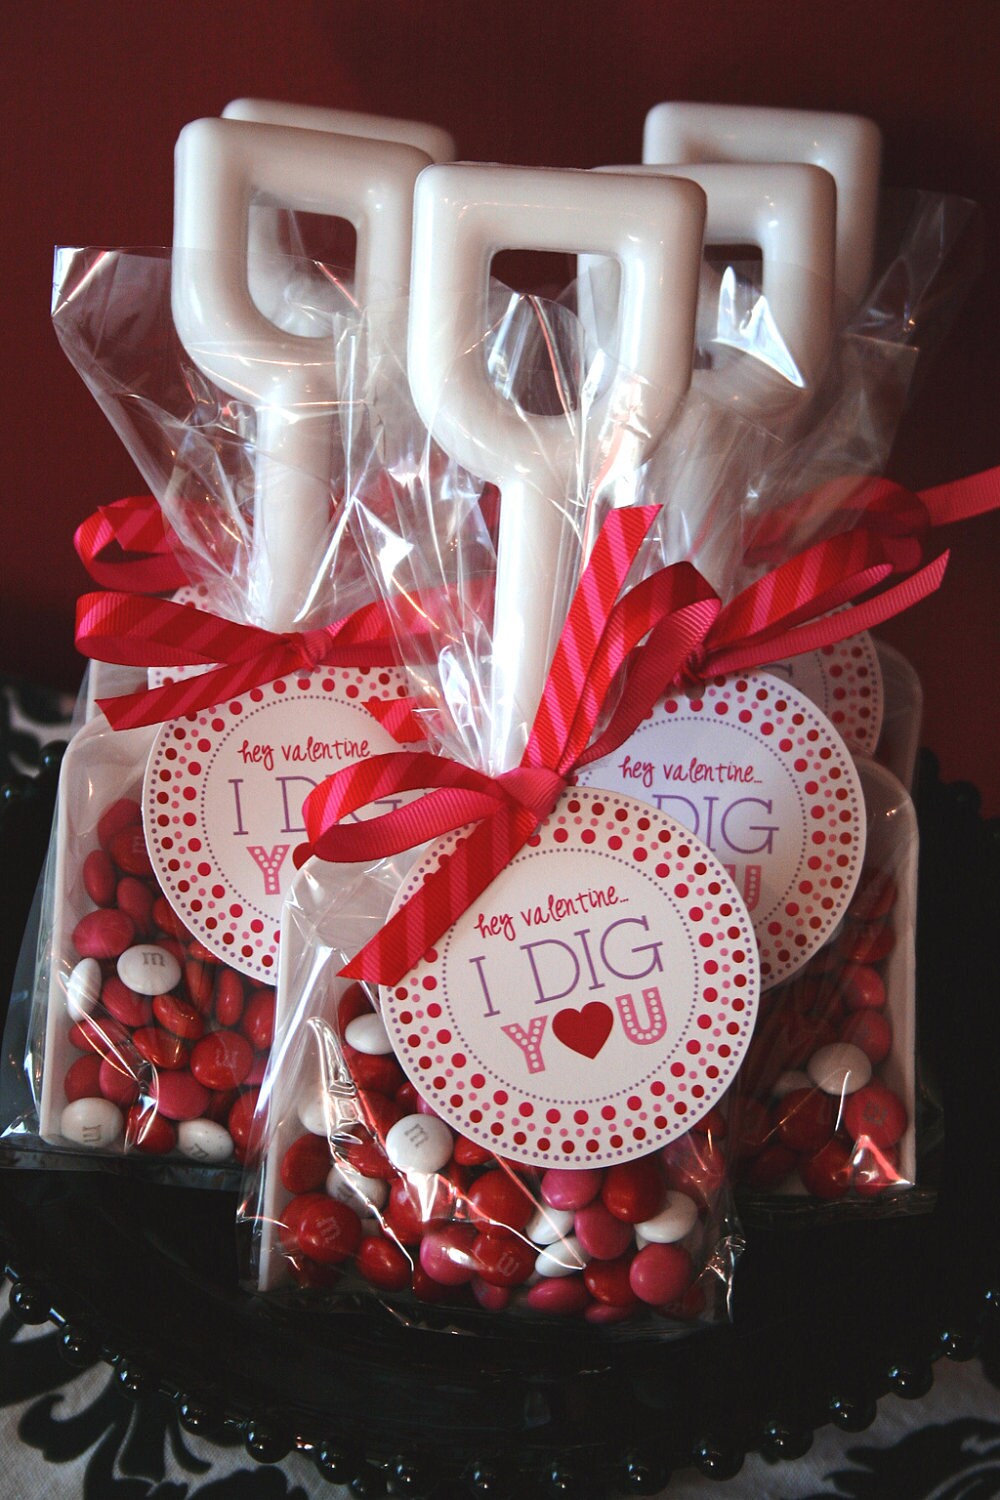
Moving into February - more specifically, Valentine's Day! There's this really cute craft on Pinterest and Etsy that combines plastic shovels, candy, and cute baggies with some sort of note that says something to the effect of "I dig you, Valentine!" Cute and simple, yes. Inexpensive? Not so much. My example to the left from an Etsy shop costs $9.00 for the printable. That's just the electronic file of the tag. JUST A PICTURE OF A TAG COSTS NINE DOLLARS?!? Crazy. So, undeterred, my mom went on a search for plastic shovels to make her own version (the apple doesn't fall far from the tree, folks), and while she found shovels (good), they cost a dollar a pop (bad when you have seventeen students). So, my mom decided that maybe she didn't totally dig her students an entire shovel-full. Maybe just more like a spoonful, à la Frank Morris and the Anglin brothers. And red spoons were ten for a dollar. ;)

Spoon Guy!


Combining the spoons with items she already had on hand (except for a bag of Valentine M&Ms, which she purchased for the craft), she was able to create a bunch of these little cuties (at right). She melted some almond bark chocolate in the microwave and drizzled it on each of the spoons, pressing in M&M noses and candy eyeballs (from Hobby Lobby! and now Walmart, since we were running low) before the chocolate hardened. Then she just used lollipop bags (yup, that's their technical term) and ribbon to fix them up for distribution! Her kids' reaction? Laughter, followed by immediate consumption.


The week following these gifts of chocolate spoonfuls was Dental Health Week. Nice, right? According to my mom, "Kids are always told to brush their teeth, brush their teeth, brush their teeth, so I decided to zero in on flossing this time." Typing "dental health" into Pinterest returned this board, and one of the crafts fit perfectly with the whole flossing angle. And it gave Mom a use for the leftover marshmallows from December's gingerbread houses. Always frugal, my mother. The steps were simple - students were given folded pieces of pink paper and told to draw a curve like a rainbow to cut along. Apparently, several of them equate rainbows to triangles and ended up with what my mom termed "an alligator mouth." The alligator mouths did not make it into the photo at left - we restricted photography to mouths that resembled those of humans (despite the marshmallow teeth). Oh, and the most important part - after gluing in their teeth, students strung floss and secured it between teeth with glue drops.

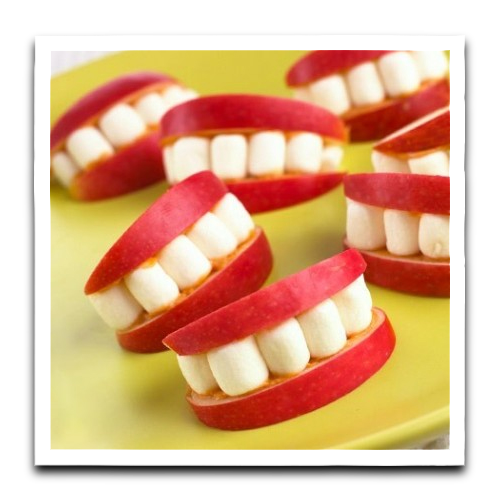
Another activity for Dental Health Week was a brushing chart that students took home and recorded five days' worth of morning and night teeth-brushing sessions - if they turned it in, completed, at the end of the week they got a "good for your teeth treat." Ah, positive reinforcement, I miss you. I would love bags of Skittles for my grad work right now. But, that's besides the point. My mom originally found these apple mouths on Pinterest:


Ok, so that last one wasn't originally on the list. I just saw it and thought it was so cute! And counterproductive to dental health. But, whatever. Anyway, the first two are legit. However, they were immediate no-gos for my mom, since she has a student who is allergic to peanuts (the teeth in the left pic are peanuts and PB holds the marshmallows in place in the center one). We're talking can't-sit-at-same-lunch-table-as-students-with-PBandJ-sandwiches allergic. So, my mom improvised and used her candy eyes and some fruit roll-ups (remember those?) to make these little guys:

She was pretty pleased with her little apple mouths and their fruity tongues, whereas my first reaction was somewhere along the lines of "ew, bloody mouths!" Then I wondered if tongues could really be factored into the DENTAL health equation... I mean, they aren't like gums, which are dental by association (Listerine gingivitis commercials anyone?). But, the kids had neither reaction and gobbled these fellas right up! Come to think of it, I probably would too. ;)

And now you can see how my mother and I are living proof that the craft gene is indeed passed down from mother to daughter, it just mutates in the process - one may sew and make cards (my mom) whereas the other is incredibly beautiful and talented. Whoops, that's not necessarily crafty. But I'll let it stand. :P

Friday, March 8, 2013

Gum Wrapper Chains

Growing up as a child of the nineties, I remember the first time I discovered gum wrapper chains. I thought they were SO. COOL. What I don't remember is how I learned how to make them - I'd love to attribute it to ingenuity, but maybe it was a step-by-step guide in my American Girl magazine. Let's just say it could have been either, ok? Giddy with my new skills, I made a loooooong chain of my favorite Wrigley's gum of the time (Juicy Fruit) which then proceeded to hang on my bulletin board until... wait, is it still there? Possibly. I initially wanted to make it into something 'functional' (like, you know, a necklace... that's functional, right?), but unfortunately that never happened. However, before you scoff and relegate gum wrapper chains to the wasteland of camp lanyards and friendship bracelets, you should know two things. One, the longest gum wrapper chain in the world is made of 1,688,930 wrappers (knowledge is power!), and two, I was able to incorporate this skill into the daily operations of the academic office where I work as a graduate assistant. Yes, it's that versatile.

Here's the story: A few months ago, my boss asked me to update our office's bulletin board in the main lobby of our building. He wanted it divided into three sections, but since I work in an academic building and not an elementary school, supplies like butcher paper (great for backdrops) and borders (self-explanatory) aren't really accessible. Which, in hindsight, might have been a good thing - this is a bulletin board in a college building, after all. I mulled over how I could divide the sections, and it came to me - the GUM WRAPPER CHAINS of my youth!

Our office has a pretty respectable supply of colorful paper for flyers and handouts and such, so I took three of the brighter colors to frame out the section titles, then mixed the two bordering colors of the adjacent sections in a gum-wrapper-chain-like manner. Check out the results:


Pretty simple, I know, but while I was making my paper chains, I had lots of people express curiosity about what I was doing, and it turns out, saying, "I'm making gum-wrapper chains," wasn't enough of an explanation. So, I figured I'd dedicate a post to explaining the how-to... which didn't go as well as I thought it would. Let me explain...

Step 1: What should have been "Buying Wrigley's Gum." However, it turned into "Asking Roommate to Pick Up Said Gum Since I Don't Go into Convenience Stores at Sketchy Gas Stations in PG County." Because she goes to Wawa on her way home sometimes, and I'm always at sketchy gas stations since they have the cheapest gas.

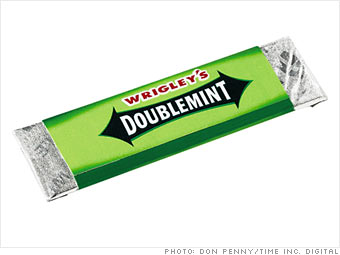
Step 2: What should have been "Separate the Foil Wrappers from the Paper Wrappers." Because remember how they used to have both? Remember that? Hold on to that memory, folks, because THEY DON'T DO IT ANYMORE! And haven't apparently, since 2010. I unwrapped my little pack of Doublemint, expecting to see what's pictured at below left, only to encounter the disappointing wrappers at below right. 

Double-Layered, Vintage Wrappers

Cheap, Sad Modern Wrappers


Step 3: Folding process - this actually came out okay, however, unbeknownst to me, I was setting myself up for failure here.

Blah, blah, blah, you get all these links!
Folding Lengthwise


Folding Widthwise (should be a word)


Step 4: What should have been "Linking Up the Chain," but, since the new wrappers are all weird, I forgot to tear them in half (you are supposed to separate the rather long paper wrapper of yore into two potential links), so they wouldn't fit into each other (you have to be able to slide one into another, leaving room for another one to then slide into that one). I actually have a sneaking suspicion that the new wrappers aren't the right dimensions - I re-did them by making extra lengthwise folds to make the links more long-and-narrow so that they have room to link into each other, and the results weren't ideal.

Showing where the links interlock, before realizing my error.
See? Something's off here...


So, in conclusion, I'm kinda over this whole gum wrapper chain thing made of actual gum wrappers. Here are more shots of my non-wrapper gum wrapper bulletin board chains to compensate.

...Aaah
Oooh...


However, if, for some reason, you still don't feel properly educated in the art of the gum wrapper chain, feel free to check out Gary Duschl's website (he's the guy who made the aforementioned record-breaking gum wrapper chain). His instructions are super clear and he's super nice (he writes that you should email him if you are struggling). So go, check it out, and soak up the aura of a dying art.