Showing posts with label chain. Show all posts

Tuesday, April 22, 2014

Paper Chain Countdown


A few months ago, a chain made out of construction paper appeared in the teacher's lounge. It had alternating links of red and white (our school colors) and while it did lend an air of festivity to the place, I wondered aloud why it was there. Another teacher informed me that the art teachers had made it for a teacher who was retiring this year. Each link represents a day he has left, and at the end of every day he breaks one off. I must say, it's been fun watching that chain shrink these past weeks (c'mon summa time!), so when my mom, who is also a teacher, confided to me her shared eagerness for the approaching summer, I decided to make a little countdown chain for her to enjoy as well!

-o-o-o-o-o-o-o-o-o-o-o-o-o-o-o-o-o-o-o-o-o-o-o-o-o-o-o-o-o-o-o-o-o-o-o-o-o-o-o-o-o-o-o-o-o-o-o-o-

For my links, I selected a cheery yellow cardstock and selections from Sense and Sensibility - quite the combo, I know. ;) I wanted the chain to be travel-sized, since I was mailing it to her, so I made the links as small as I could (using my stapler as a guide).


After creating my chain of 29 links (the number of schooldays she has left!), I added a little clarifying tag to the chain's end. And yes, I'm the kind of person who purchases green staples. Because I can.


Luckily, I had the perfect-sized box to package my chain. After lining it with tissue paper, I coiled up the chain and nestled it inside. I tucked in a little note as well (Mary Call is a little inside joke, as I've previously mentioned). It's set to arrive this week (during which she's on Spring Break, conveniently, so I could safely settle on my number of chain links). It was such an easy craft, and I hope it offers her encouragement in the days to come!

Wednesday, December 25, 2013

A Merry Little Christmas Party

Last year I co-hosted a Christmas party with my brother to inaugurate his new basement and, of course, to celebrate the holidays! Since I never shared any of the crafty decorations I made for it, I figured a solid year later would be perfect timing. :P


Using some of my favorite crafting media (book pages, branches), I set about making decorations that incorporated materials that I had on hand, or could obtain for cheap. One of my favorites turned out to be the little trees you see lining the window sills above. I got the idea from my bestie, Martha Stewart - the original craft is for place cards, but they made the cutest accents as well. And after the party, I sent them home with guests as mini favors.

The sprigs I snipped from greenery in surrounding areas (like my apt. complex, outside my office, on the way home...lol)

Continuing with the natural theme, I looked for ways to incorporate branches and fresh greenery into the décor.

Always have to have the red and green M&Ms!


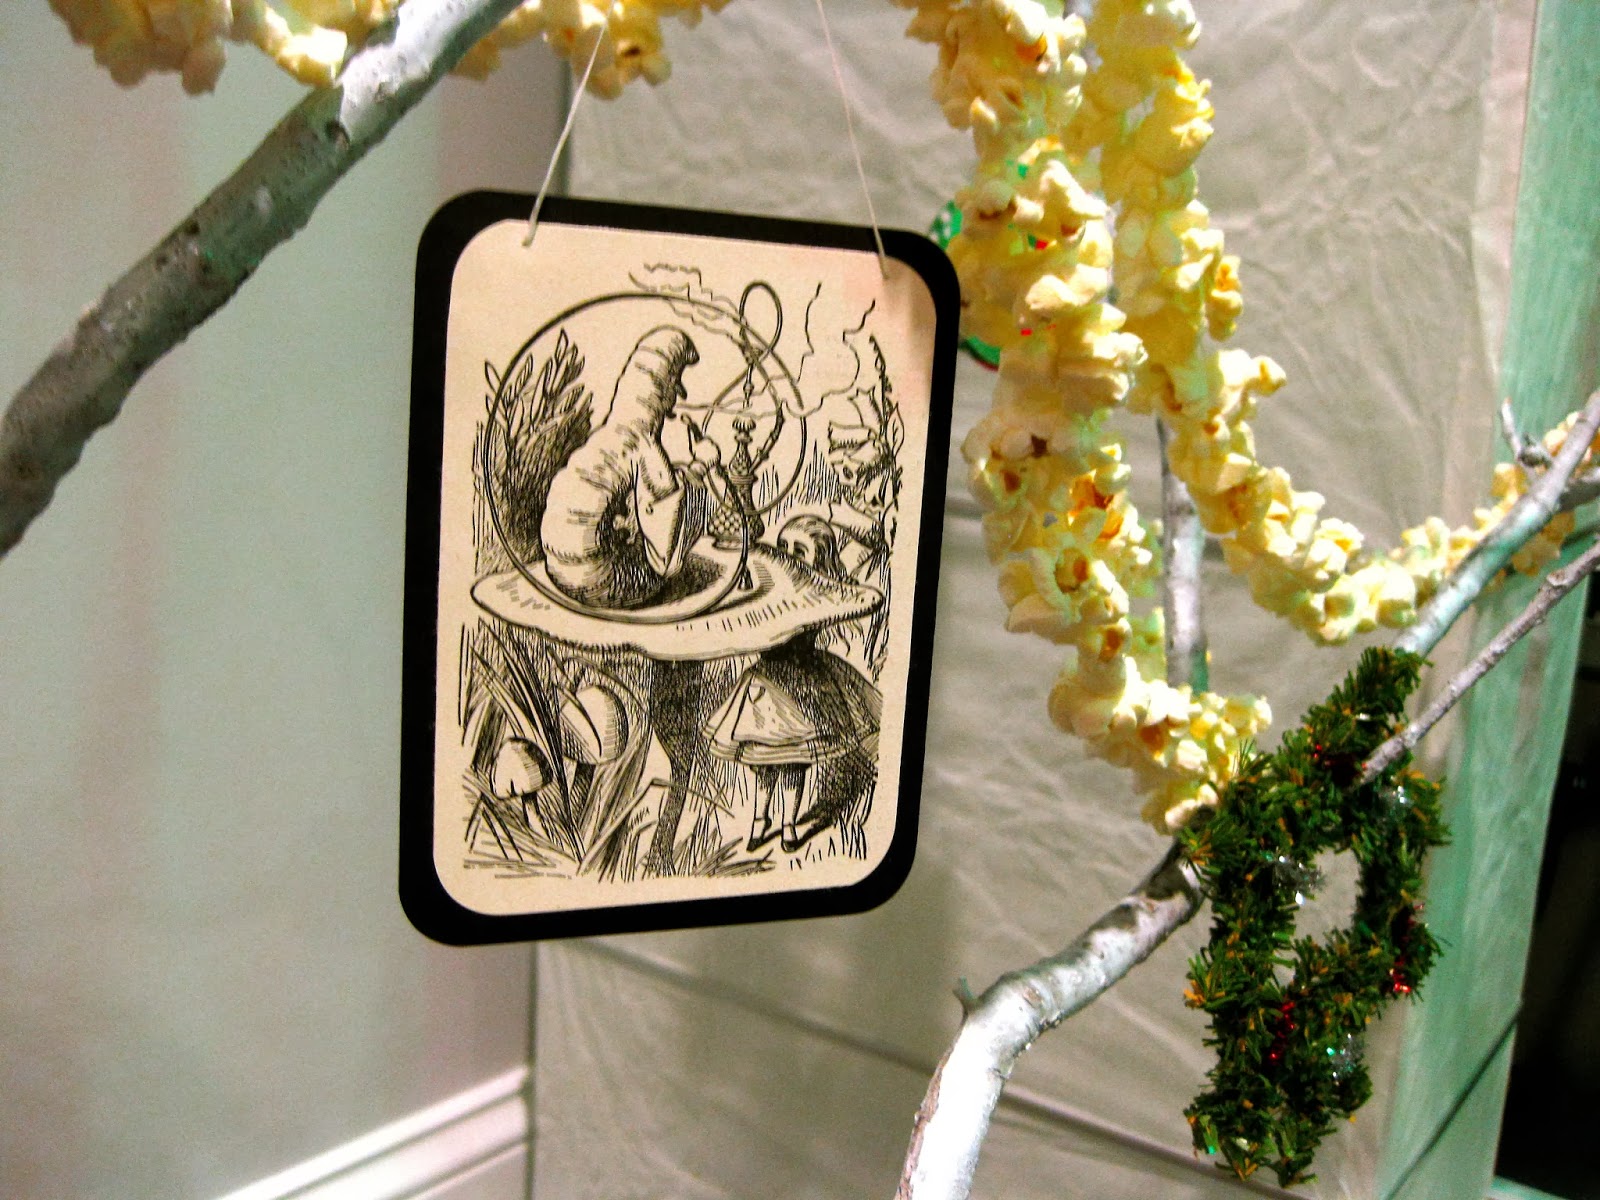
Evergreen sprigs, bits of holly, pinecones, and magnolia leaves worked as well to bring a bit of the outdoors inside. Going with the whimsical, I framed out illustrations from a copy of Alice in Wonderland to hang from the branches of my arrangements. The largest one I adorned with popcorn garlands and mini wreaths in addition to a few paper ball ornaments I made with leftover pieces of patterned paper.


I also used a few of the pages to line the backs of cookie-cutters, turning them into ornaments. Another Martha-inspired craft, although the original craft used wrapping paper instead of book pages.


You might have noticed the little paper trees peeking in the background of different pictures - they were really simple to make, instructions here!


I also used book pages to make a banner (I drew on the letters with Sharpies)...


... and these really sweet wreaths! They were a little time-consuming, but not very difficult. I used some German playing cards that I had on hand to cover the center portion where it tends to get messy (where all the cones come together). You can find the tutorial I used here.

The icicles are just tissue paper!


Cheery fire


A few other fun accents were paper chains, paper medallions, and cheery luminaries lining the front walk. The paper medallions were made using seventeenth-century newspaper articles I had printed out for one of my grad classes (recycle, right?) and old Christmas cards for centers. The luminaries consisted of red paper bags layered over white ones - I used an Exacto knife to cut out a simple design on each of the red bags, then placed Mason jars with tea lights inside (it was a windy/rainy night, if I recall).


We had a full potluck dinner, complete with an impressive variety of desserts, and a white elephant gift exchange, where I'm pretty sure this was the top steal. :) A fun time was had by all who attended!

Friday, April 26, 2013

Steampunk Necklace

To start off, I'd like to clarify that despite the fact that this is my second necklace-making post on this blog, I am definitely not an avid jewelry maker. However, I have been digging the long-chain-with-pendant necklace trend this past year, and lucky for me, it's a pretty easy one to replicate! So, without further ado, I present my easy-peasy steampunk pendant necklace:


Pause. Backtrack. I realize that I might need to clarify the term 'steampunk' for some, so let's take a brief rabbit trail, shall we? Steampunk.com gives a pretty nice definition for the term:
[A] literary genre, or least a subgenre of science fiction and fantasy that includes social or technological aspects of the 19th century (the steam) usually with some deconstruction of, reimagining of, or rebellion against parts of it (the punk).
I know what you're thinking - OF COURSE it started off as a literary thing! And it's true - think Jules Verne, à la The Time Machine:

Source: Travel News

The image above illustrates one of the key aspects of the steampunk trend - its ability to transcend media. Steampunk.com gives examples of steampunk games (Bioshock II), steampunk graphic novels (League of Extraordinary Gentlemen), and even steampunk movies (Sherlock Holmes) and TV shows (Warehouse 13). And it doesn't stop there! Which brings me to my necklace, an example of the steampunk design aesthetic:
What with all the cool contraptions in the stories, it was only natural that some people would decide to make some of them (or at least things like them). Thus, steampunk gadgets came into the real world. People have “steampunk’d” everything from computers, desks, telephones, watches, and guitars, to cars, motorcycles, and whole houses. These objects can vary from a grungy look of a forgotten antique to the shiny overwrought newness of a Victorian gentleman’s club. Think brass and copper, glass and polished wood, engraving and etching, and details for the sake of details. So, steampunk is also a design aesthetic. (Steampunk.com)
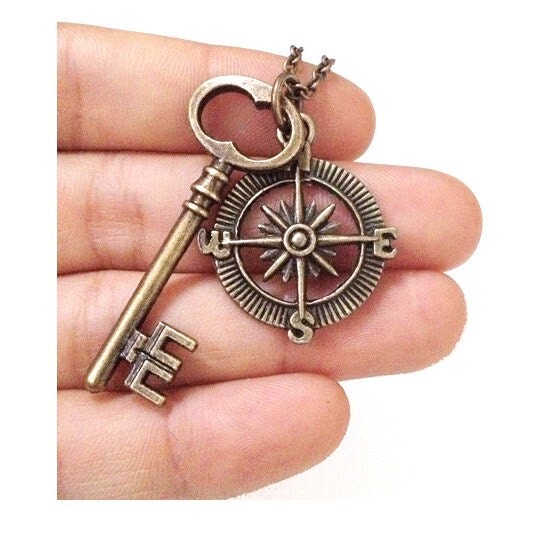
So interesting, right? But, I realize that I probably need to actually start talking about my necklace at some point in this post, so onto a chat about keys. Yes, one of the key elements of steampunk jewelry is an antique key. I've always loved old keys - I would buy them at yard sales when I was a little kid (weird? or telling?). At any rate, I love how popular they've become within the steampunk design aesthetic, especially paired with other classic steampunk elements (compasses, gears, clocks, etc.). Take a look:

Bronze key/compass combo on Etsy
Super steampunk'd key on Etsy

Source: dragonweave.com via Marc on Pinterest


Michaels actually has/had a steampunk section in their bargain aisle, which I visited several times (mostly to lament my inability to figure out uses for various items I wanted... which meant they stayed at Michaels). I did find a set of steampunk keys for $2.00, though, that I snapped up immediately. Pardon the picture quality - my phone is remedial:

Only $2.00!

I knew from nosing around Etsy for ideas that I wanted to incorporate another element in my necklace, and this collection of charms in the jewelry section of Michaels caught my eye:

Not a fan of wings, but the owl was adorable.

I also picked up some necklace chain (see pics below) for $3.99 that complemented the tone of the key and charm - as it was just chain, it didn't come with a connector. However, these necklaces are long enough to slip over your head, so you don't really need one. I just used needle nose pliers to snip off the length of chain I wanted (around 30" give or take) and then to connect the chain into a loop after slipping on my key pendent. Full disclosure: I initially threaded the chain through the key's preexisting loop, but I didn't like how the key kept twisting sideways with that setup. A jump ring connecting the key to my chain fixed the problem. I ended up using two jump rings in my necklace - one to attach the owl charm to the key (using pliers again) and another to attach the key to the chain so it hung in the right direction.

Closeup, with real camera
In-store, with (sub-par) phone camera


And there you have it! Here's a quick photo of the hanging length, if you're curious:

Friday, March 8, 2013

Gum Wrapper Chains

Growing up as a child of the nineties, I remember the first time I discovered gum wrapper chains. I thought they were SO. COOL. What I don't remember is how I learned how to make them - I'd love to attribute it to ingenuity, but maybe it was a step-by-step guide in my American Girl magazine. Let's just say it could have been either, ok? Giddy with my new skills, I made a loooooong chain of my favorite Wrigley's gum of the time (Juicy Fruit) which then proceeded to hang on my bulletin board until... wait, is it still there? Possibly. I initially wanted to make it into something 'functional' (like, you know, a necklace... that's functional, right?), but unfortunately that never happened. However, before you scoff and relegate gum wrapper chains to the wasteland of camp lanyards and friendship bracelets, you should know two things. One, the longest gum wrapper chain in the world is made of 1,688,930 wrappers (knowledge is power!), and two, I was able to incorporate this skill into the daily operations of the academic office where I work as a graduate assistant. Yes, it's that versatile.

Here's the story: A few months ago, my boss asked me to update our office's bulletin board in the main lobby of our building. He wanted it divided into three sections, but since I work in an academic building and not an elementary school, supplies like butcher paper (great for backdrops) and borders (self-explanatory) aren't really accessible. Which, in hindsight, might have been a good thing - this is a bulletin board in a college building, after all. I mulled over how I could divide the sections, and it came to me - the GUM WRAPPER CHAINS of my youth!

Our office has a pretty respectable supply of colorful paper for flyers and handouts and such, so I took three of the brighter colors to frame out the section titles, then mixed the two bordering colors of the adjacent sections in a gum-wrapper-chain-like manner. Check out the results:


Pretty simple, I know, but while I was making my paper chains, I had lots of people express curiosity about what I was doing, and it turns out, saying, "I'm making gum-wrapper chains," wasn't enough of an explanation. So, I figured I'd dedicate a post to explaining the how-to... which didn't go as well as I thought it would. Let me explain...

Step 1: What should have been "Buying Wrigley's Gum." However, it turned into "Asking Roommate to Pick Up Said Gum Since I Don't Go into Convenience Stores at Sketchy Gas Stations in PG County." Because she goes to Wawa on her way home sometimes, and I'm always at sketchy gas stations since they have the cheapest gas.

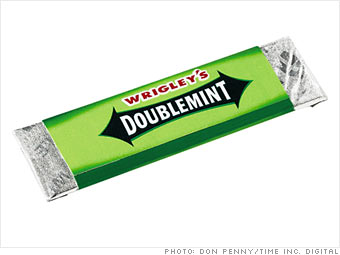
Step 2: What should have been "Separate the Foil Wrappers from the Paper Wrappers." Because remember how they used to have both? Remember that? Hold on to that memory, folks, because THEY DON'T DO IT ANYMORE! And haven't apparently, since 2010. I unwrapped my little pack of Doublemint, expecting to see what's pictured at below left, only to encounter the disappointing wrappers at below right. 

Double-Layered, Vintage Wrappers

Cheap, Sad Modern Wrappers


Step 3: Folding process - this actually came out okay, however, unbeknownst to me, I was setting myself up for failure here.

Blah, blah, blah, you get all these links!
Folding Lengthwise


Folding Widthwise (should be a word)


Step 4: What should have been "Linking Up the Chain," but, since the new wrappers are all weird, I forgot to tear them in half (you are supposed to separate the rather long paper wrapper of yore into two potential links), so they wouldn't fit into each other (you have to be able to slide one into another, leaving room for another one to then slide into that one). I actually have a sneaking suspicion that the new wrappers aren't the right dimensions - I re-did them by making extra lengthwise folds to make the links more long-and-narrow so that they have room to link into each other, and the results weren't ideal.

Showing where the links interlock, before realizing my error.
See? Something's off here...


So, in conclusion, I'm kinda over this whole gum wrapper chain thing made of actual gum wrappers. Here are more shots of my non-wrapper gum wrapper bulletin board chains to compensate.

...Aaah
Oooh...


However, if, for some reason, you still don't feel properly educated in the art of the gum wrapper chain, feel free to check out Gary Duschl's website (he's the guy who made the aforementioned record-breaking gum wrapper chain). His instructions are super clear and he's super nice (he writes that you should email him if you are struggling). So go, check it out, and soak up the aura of a dying art.