Friday, June 21, 2013

Cirque Snacks

All the food at "A Night at Le Cirque des Rêves" was black (read: chocolate), white, and/or red. We had strawberries, chocolate and strawberry Twizzlers, chips and salsa, and more! I also tried out a few Pinterest-inspired treat ideas (specifically chocolate mice, cupcakes with toppers, molded sugar cubes, and some popcorn and animal crackers movie snacks) for the party, which I'll detail below. 

Party Treat #1: Chocolate Mice 


As he continues to walk around the circus, Bailey’s path leads back to the courtyard. He stops briefly to watch the sparkling bonfire and then at a vendor to purchase a bag of chocolates to make up for his mostly uneaten dinner. The chocolates are shaped like mice, with almond ears and licorice tails. He eats two immediately and puts the rest of the bag in the pocket of his coat, hoping they will not melt.


Some of the best food items mentioned in The Night Circus are the chocolate mice, and there are all sorts of recipes for making your own. The one I used results in more of a cookie, and it's originally a Christmas recipe, but judge for yourselves how awesome the finished results are!

Here's the recipe:
  • 2/3 cup semisweet chocolate chips (I thought about subbing in milk chocolate, but chickened out, not wanting the project to become a Pinterest fail - next time I'll definitely pull a switcheroo, since I prefer milk chocolate to semisweet)
  • 2 cups chocolate wafer crumbs, divided (I originally wanted chocolate Nilla wafers, but I couldn't find them anywhere, so instead I used Oreo cookies, scraped free of icing)
  • 1/3 cup sour cream 
  • 1/4 cup sliced almonds 
  • 18 pieces black shoestring licorice (2 inches each) (I actually found this at Target in the cake-decorating section, but Walmart has it, too - it was pricier than I wanted, but I'm glad I caved - the little tails MADE the mice, seriously)
  • 36 red nonpareils (I opted to leave these out)
Step One: In a microwave, melt chocolate chips; stir until smooth. Stir in 1 cup crumbs and sour cream. Cover and refrigerate for 1 hour or until easy to handle.
Step Two: For each mouse, roll about 1 tablespoon chocolate mixture into a ball, tapering one end to resemble a mouse. Roll in remaining chocolate crumbs to coat. Position almond slices for ears and licorice pieces for tails. Yield: 1-1/2 dozen.

The process was as easy as it seems, and the mice were a hit. Because I wasn't sure if 18 mice would be enough, I increased the recipe to yield more (I think I halved it and added that to the total, yielding 27-28, if that makes sense). Anyway, I didn't have a single chocolate mouse leftover. Yup, they were all gobbled up!

Ready to decorate!


All the scraped-out Oreo icing!


Awwwwww.

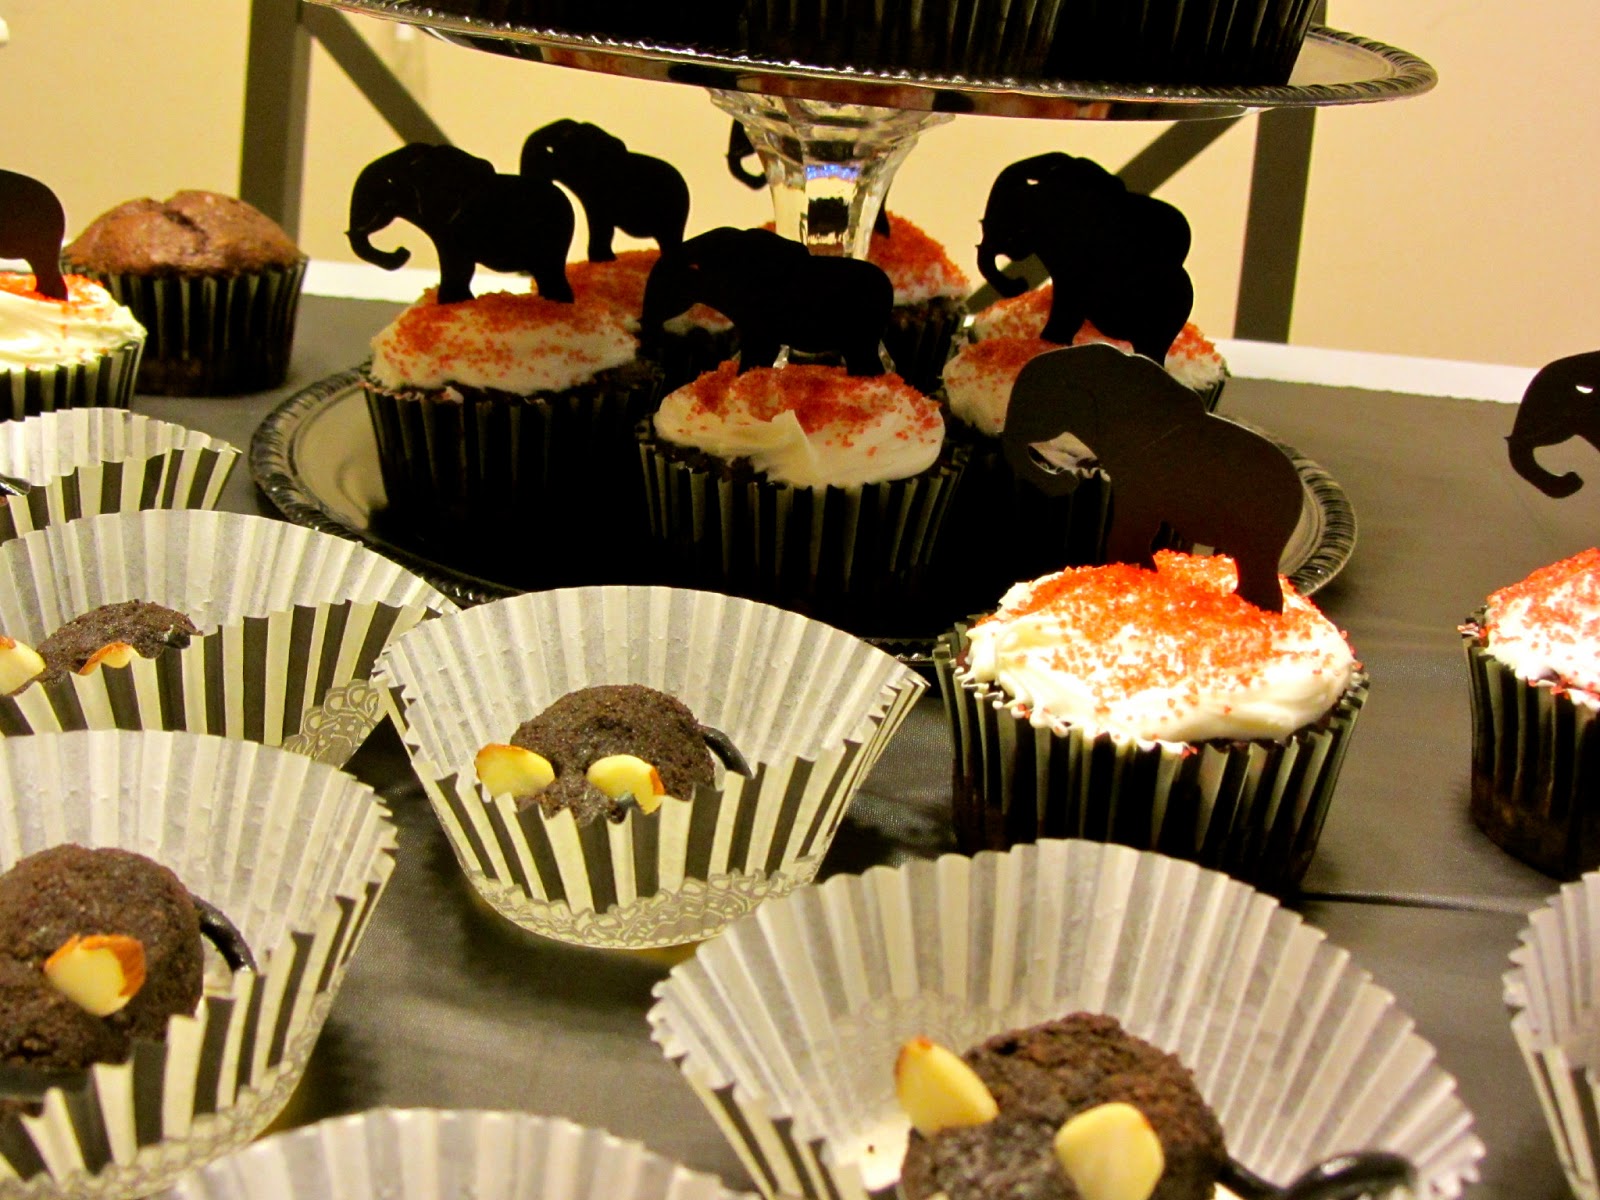
I nestled the little chocolate mice in extra baking cups I had after making cupcakes - that way I could avoid another large serving platter and they were mess-free to serve.

Party Treat #2: Cupcakes with Silhouette Toppers

Source: etsy.com via caritasity on Pinterest
After I pinned this idea of silhouette cupcake toppers on my then-private planning board, my mom informed me that her Cricut machine did indeed have an elephant pattern! I decided to use black cardstock, which turned out nicely. And I discovered black-and-white striped baking cups in a Michaels deals section for only $1.50! After buying some red crystal sprinkles, I was ready to whip up some themed cupcakes! Since my party was at my brother's house (which is located on the other side of D.C., a 40-minute drive away), I elected to ice the cupcakes there. It made my drive over a little less stressful, and I was able to enlist my friend Kathryn's help!

Ready to travel!
I made a full two-dozen cupcakes


Rushing to finish!


The chocolate mice and cupcakes on display!


Detail shot of yummy finished cupcake!
Putting my Dollar Tree tiered tray to use!


Party Treat #3: Molded Sugar Cubes 

Another idea I saw that I wanted to try out was molded sugar - the recipe seemed simple enough: take sugar, add water until the mixture is the consistency of wet sand, then press into mold. While the original inspiration (at left) had skull-shaped cubes, I didn't think they were quite on theme for "A Night at Le Cirque des Rêves." However, during one of my thrift store visits, I found the PERFECT ice tray to use - this star cubes tray from IKEA! It had a deeper setting than the skull tray, so my resulting sugar cubes were somewhat larger.

While the process was simple enough, I still learned a few tips and tricks to this project, which I'd like to share:

Tip #1: When using irregular molds for your sugar cubes (i.e. a star shape with multiple narrow, sharp angles), it's best to create a custom presser to pack the sugar in (see pics below). Your finger is just not the tool needed here.
Tip #2: Speaking of fingers, sugar particles are a lot like sand, meaning they are scratchy. I was surprised to find little cuts and roughed up cuticles on my fingers in the days following the party, and I've concluded that it had to have been the sugar (I mixed the water and sugar together by hand, scrunching the mixture the way one does wet sand). Strange side effect, but one to be wary of nevertheless!
Tip #3: Leftover sugar cubes can be used in your morning coffee! Since the cubes turned out to be a bit on the larger side, a few party-goers abstained - and I had made plenty to go around!

My little custom presser made from cardboard and duct tape!
A perfect-enough fit!
Filled tray, with some leftover water/sugar mixture in the bowl.
Finished products! I loved how sharply defined they were - I let them dry and harden overnight before packing them up.

Party Treats #4 and #5: Animal Cracker Snack Bags and Popcorn Cups 

As part of the fun, I Netflixed The Greatest Show on Earth, a circus movie from 1952 (it had Charlton Heston in it!). To be honest, we didn't really follow the storyline too well, and it was super long, so no one braved it to the end (we started it a little late in the evening). But, it had awesome scenes of real circus performers from the 50's, which we all enjoyed!


To accompany the movie, I made these:

Circus Animal Crackers! (I found the fabric at Hobby Lobby)
I got the idea on Pinterest, of course! I found the clipart online through Google Image Search, and I printed it out onto sticker paper. I paired the stickers with black cardstock and baker's twine to create my bag toppers, and I used pretzel bags for a unique shape. Use whatever bag you purchase as a template for the width of your toppers - and be sure to leave room for the staples (both on the topper and in regards to filling the bag with treats)!

Supplies at the ready!
I wrapped the baker's twine around the front, then taped it down
The sticker hides the tape
See?


To give a sense of how many animal crackers I used -
these were the leftovers after making 25 snack bags
After filling the bag with animal crackers, I
attached the topper using a stapler, much the
same as I did with my Testudo Treats


I stored them in Ziploc bags to keep them from getting stale

I also made popcorn cups to accompany the bags - but I didn't get any pictures of those! So, I'll fill in with my inspiration pic (top left corner image):


And the images of my materials:

My themed popcorn of choice ;)
Black Paper Cups


 I created a label for the cups using the following elements, which I printed on sticker paper. Since the elephant silhouette wasn't a GIF (meaning it had a white background around it, so I couldn't combine the elements as easily as I wanted to in Word), I simply ran the paper through the printer twice - the first time to get the background image, the second time to layer the silhouette over top!

The background is a recolored version of an image from this collection and the elephant silhouette is from Graphics Fairy.

Aaaaand that's all, folks! Thanks for making it to the end of my rather lengthy, slightly picture-heavy foodie post! :)

Friday, June 14, 2013

DIY Photo Booth

So, you want to have a photo booth at your party, but you don't want to spend something like $300? Me too. So, here's what I did! First, I identified elements that I wanted in my photo booth: an oversized frame, fake mustaches, and costumy props. Then, I began my hunt. First up, an oversized frame. I knew that my best bet was a thrift store, and that I would probably have to buy the artwork within the frame. After a few strikeouts (some shops apparently still ascribed value to the artwork displayed in the frame, which I viewed as a byproduct), I found my gem:


Ugly, no? And super discolored, as I discovered when disassembling it. But here's the draw of this baby, besides its lovely hugeness:


Ya can't beat that, let me tell you! After I took out (and tossed) the old artwork and its accompanying rusty staples and hang wire, my dad took over painting the frame. He primed it first, since it was originally covered in a flaky finish, then painted it a flat black - voilà, it was exactly what I wanted!

Clipping and stripping the wire
Tugging out a million rusty staples
Painting first coat

Note: I used wrapping paper as a background for my photobooth, since I didn't want to purchase fabric (which can be expensive and not as reusable). It worked, but it was a little touch-and-go. Not sure if I would do it again, so I won't really go into how I set it up (and then improvised, and then made it work lol).


All done (the animals will be another post)! Also - do you spy my parents' color-themed pup? :)

While I was securing my frame at Goodwill, I stumbled upon a fedora that was only $1, so it came home with me, too! Mom and I scoured it out with disinfectant, and at her suggestion, I spray painted it to better match the black-and-white theme. It was a little... crunchy, but that was no big deal (it's only one night, and one photo, really). I paired it with a black feather boa at the party (leftover from this year's flapper Halloween costume).
All disinfected and awaiting spray paint!


Original color


Finished product (with feather accent tucked back in)

I also wanted a mask on a stick to go along with my mustaches - I picked out a decorate-yourself mask at Michaels for $3 (a bit of a splurge, haha), and my mom found a sheet of scrapbook paper that looked like netting. She trimmed it out, mod-podged it onto the mask, and then used glitter glue to outline the edges in sparkly silver. And that feather trimmed with black sequins? Yeah, it was also made with materials that we already had on hand. I told you, crafting and hoarding are like cousins.

Mask in progress!


The finished product! We attached the mask, along with mustaches made simply from black cardstock, to miniature dowel rods that my dad picked up from work. I displayed them in an upcycled Prego pasta sauce jar (it had a narrower mouth than Mason jars typically do).

The display at the party!

So, for roughly $10 (and that's rounding up!), I was able to create my own version of a photo booth! I just left my camera on the table next to the display for folks to take pictures with, then I 'developed' them in black and white, like the one below of me and Kathryn!


Vintage Photo Displays

Following a tip from my bestie Martha (Stewart), I searched the Library of Congress' photograph archive for vintage pictures to use for my party decorations. I entered in my search terms and received tons of results! Tip: Check the box " Larger image available anywhere" and select Gallery or Grid views to make your searching a bit easier!

Once I had downloaded and printed my photos, I decided on two display projects, inspired by the following Pinterest pics:


Photo Display #1: String(ed?) Photo Frame
And here is where I launch into a tribute to my father's skills - knowing I wanted to recreate the framed photo-strings idea above, he took some leftover molding and made me a frame one Saturday afternoon. How awesome is that? Once the frame was complete, we laid out the photos to gauge where to string the twine - they fit perfectly!


After marking out points on the back of each side of the frame, we used a staple gun to attach one continuous string of twine, threading it back and forth across the frame.

We marked line points with a Sharpie
Threading the twine


Why yes, that's a reinforced corner (my dad rocks)
I used mini clothespins that I picked up at Hobby Lobby to hang my pictures on the twine, grouping them by size (portrait versus landscape orientation) to match the strings (some were spaced farther apart than others, allowing for taller photos). I was originally going to hang the frame in front of my brother's outdoor shed (I even came up with an ingenuous hanging plan that involved using black plastic funnels to push the hanging frame away from the shed doors so it floated), but when we moved the party indoors it ended up propped on his fireplace mantel in the basement. Still, it looked pretty awesome. And, since I used mostly items that I had on hand (except for the clothespins, which were $3), it was super cheap to make! Here are some pictures of the finished product (sorry for the atmospheric-but-not-photogenic lighting!):


Photo Display #2: Photo Carousel
My second photo display project was inspired by a series of carousel pictures I found in the LOC's photo archives. I edited them to make them black and white and cropped out as much of the measuring equipment in the pictures as I could (they were documentation photos, so there were measuring devices in each photo). Once I had fixed them up, I printed them on cardstock and cut them out, rounding their corners (if I haven't gushed about corner rounder punches before, allow me to do so now: THEY ROCK).


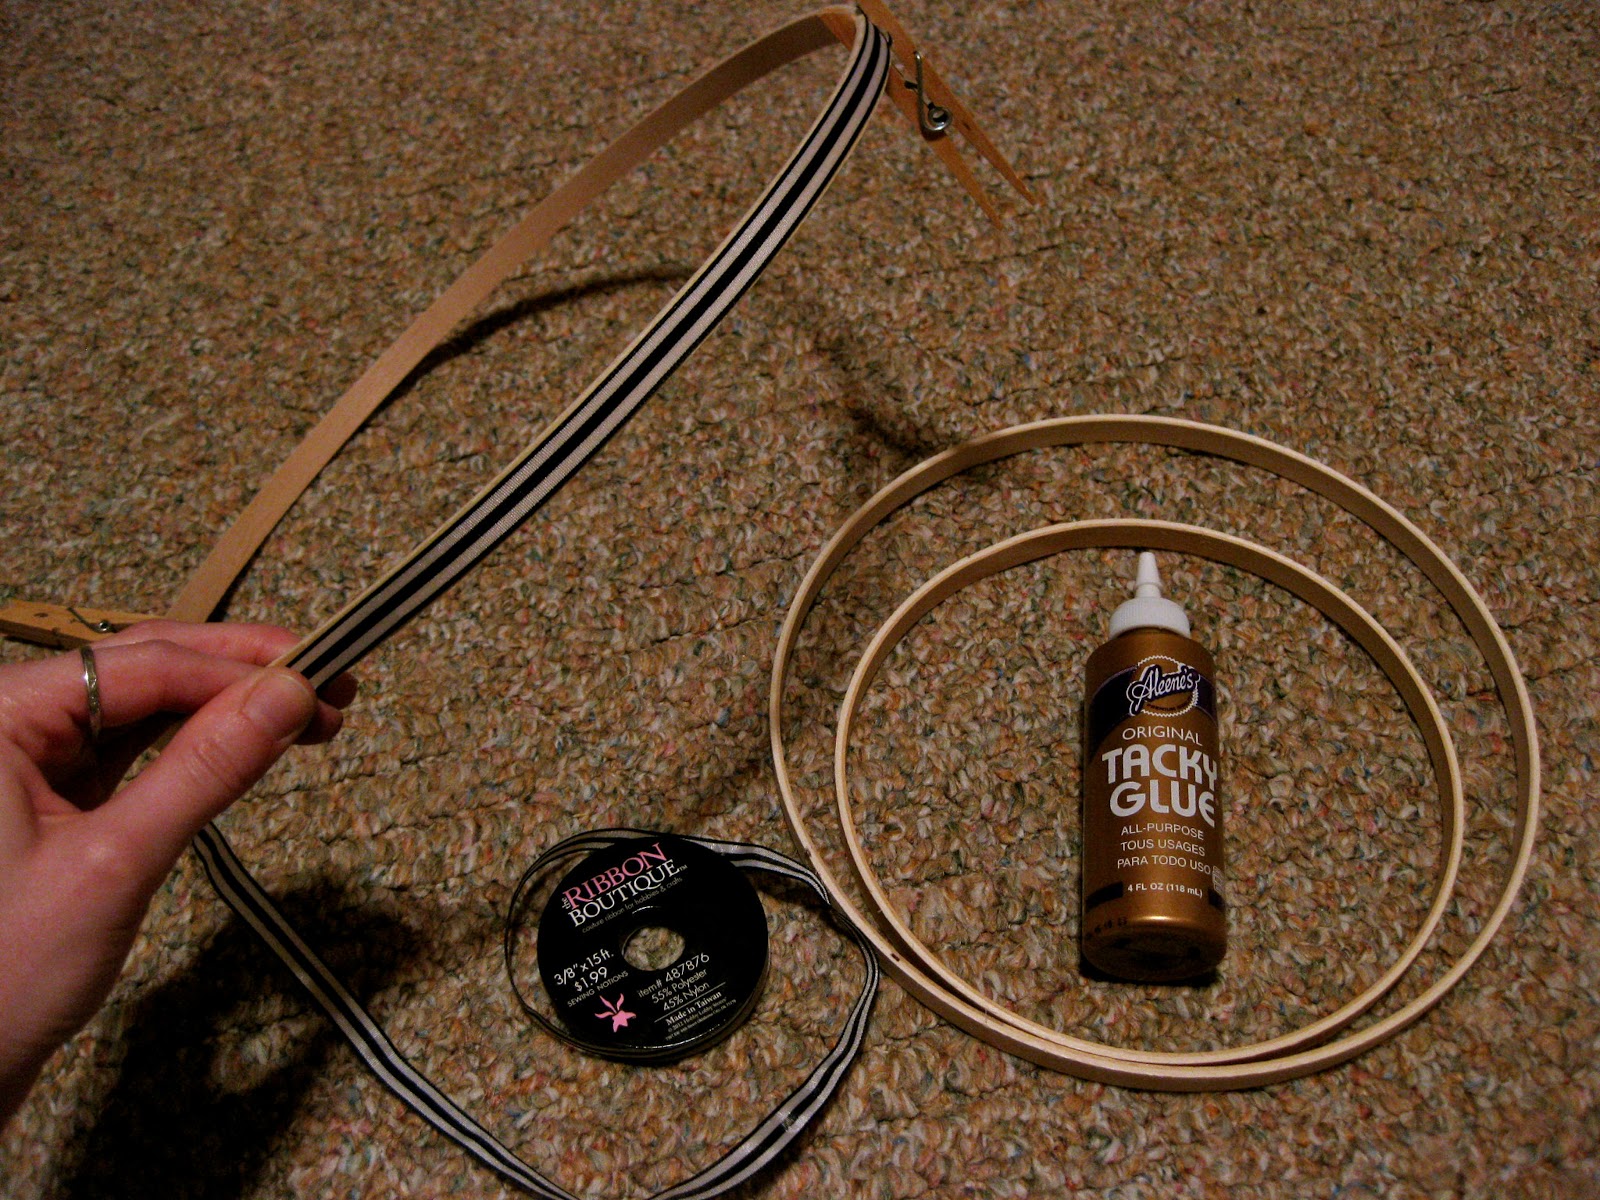
Remember the embroidery hoops I purchased for my paper airplanes game? I used the inner hoops for this project (money-saving!). My first line of business was to glue some decorative ribbon that I found at Hobby Lobby to the outer rim of the hoops and allow them to dry. Clothespins worked really well to hold the glued ribbon in place as well as elevate the hoops for drying.


Once the ribbon edging dried, we hot-glued mini-clothespins (from the same package as the ones used for the string photo frame project) around the edges to hold the carousel pictures. We had already measured out where we wanted the mini-clothespins to go, using the carousel pics as a placement guide. To help with the color scheme, I used a Sharpie to color their fronts black beforehand - it took less than a minute and complemented the ribbon nicely.  Once the mini-clothespins were attached, we used twine to attach all three hoops - once we tied four strands to the top (biggest) hoop, we hung it from the pull chain of a ceiling fan in order to better hang the subsequent hoops. We followed the line created by the initial four strands so that each layer hung straight. While it was made to hang from a center pole staked into the ground, it just as easily converted to an indoor mobile, which I ended up hanging on a reading light. Check it out!


Friday, June 7, 2013

Step Right Up...

... and try your hand! What's a (night) circus without games? Granted, mine was a party for twenty-somethings, so I wanted games that added to the atmosphere and were low maintenance (meaning they didn't need teams or a set number of players, and didn't require someone to 'work' the game, like re-stacking bottles to knock over). Basically, I wanted games that people could play while having conversations. I decided on two games of skill that were easy to assemble, slightly challenging (they were for playing, after all), and most importantly, cheap!

Game #1 - Ring Toss: Classic carnival game, and it doesn't really take much to reset for each player. And after I saw the pin below, I knew it was something I could pull together at minimal cost.

Pinterest Version:
 My Version:

The whole setup cost barely anything - cost breakdown below:
  • Crate - a lawn decoration that I borrowed from my mom (free!)
  • Bottles - recycled empties of IBC Root Beer, courtesy of my dad (free!)
  • Rings - curtain rings I found at a thrift store and painted my theme colors (99 cents)
  • Paint - acrylic paint, on hand (free!)
  • Decorations - metallic filler (leftover from balloon weights project, $1 from Dollar Tree) and wire garland (on sale for 50 cents at Michaels)
  • Letters - made using my mom's Cricut machine (free!) 
Total Cost = under $3! Assemblage pics below (click to enlarge):

Warning: Acrylic paint will chip (but it was fine for a night)
Thrift store score!


Getting the most out of the screw eyes!


After the paint dried I removed the screw eyes with pliers


Rings, DONE!


I used sticky tack to adhere the letters, so I could pop them off after the party and return the crate

I ended up using the stairs for ring toss (since the party was moved indoors), which worked out pretty well. And a few people actually managed to land some rings, which I wasn't sure was possible! You know how rigged carnival games are! :P

Sorry for the blurriness - atmospheric lighting!
Game table with rings and prizes


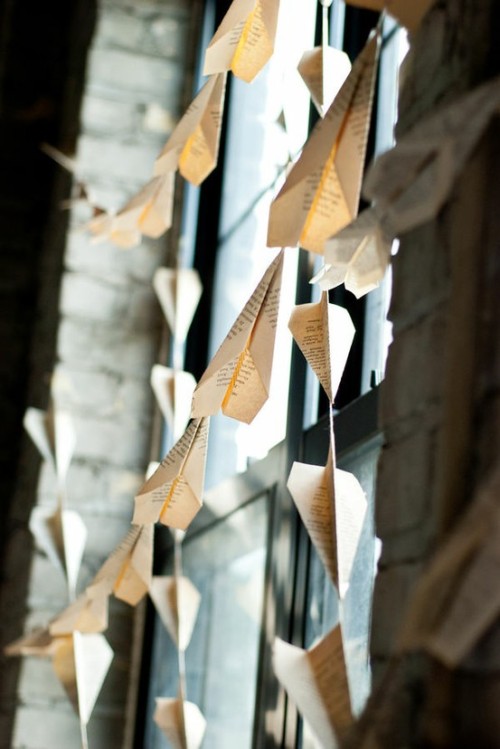
Game #2 - Paper Airplanes: I kind of made up this game, inspired by a few Pinterest images and this episode of The Office. The switch from backyard bash to indoor party probably impacted this element of the party the most, but it still came together at the end and was a hit.

Pinterest Inspiration Pics:


The image at above right was actually for a Harry Potter party - they were Quidditch hoops! I figured I could reproduce the idea with embroidery hoops and wooden rods (staking them into the ground), which worked well in theory, but when the party was moved indoors, a quick adjustment happened, and the hoops became hanging targets instead of standing ones. And again, the game setup cost was minimal! Cost breakdown:
  • Embroidery hoops - I bought three embroidery hoops of varying sizes and used the outer ones for this project (I used the inner ones for a carousel photo display) ($4.50 for all 3 hoops from Hobby Lobby, so cost for this project was $2.25)
  • Wooden rods Thread - my dad picked up the rods I was going to use, but didn't; instead I used thread that I had on hand (both free!)
  • Paper for airplanes - I initially wanted book pages, but I couldn't find a book with sturdy enough paper for airplanes - then I found an Onion compendium at a thrift store, which worked perfectly ($1.50)
Total Cost = $3.75

... but I did a quick-change on the day-of!
We originally used screws to attach the hoops to the rods...


Slicing off the binding


Click the photos to enlarge - I love the pic above, since I took it at the end of the night and you can see some of the aftermath of the game - someone's airplane is all the way into the bathroom by the sink! Like the ring toss, this game actually had winners as well. Spinning hoops hanging on thread? No problem, apparently. :P


And, if you haven't hit your limit on circus games, check out my bonus post about a guessing game I created that involves birth order, famous "magicians," and prizes! :)